Photoshop Tips to Improve Your Pen Product Photos
Photoshop session from Sunday, July 25th at MAPG2021
Sample File
Feel free to download the sample file and follow along.
Click to Download
This is my outline for the Photoshop session at #mapg2021.
Camera Raw tool
The camera raw tool is incredibly powerful and has every possible adjustment you could ever want to possibly make to your image.
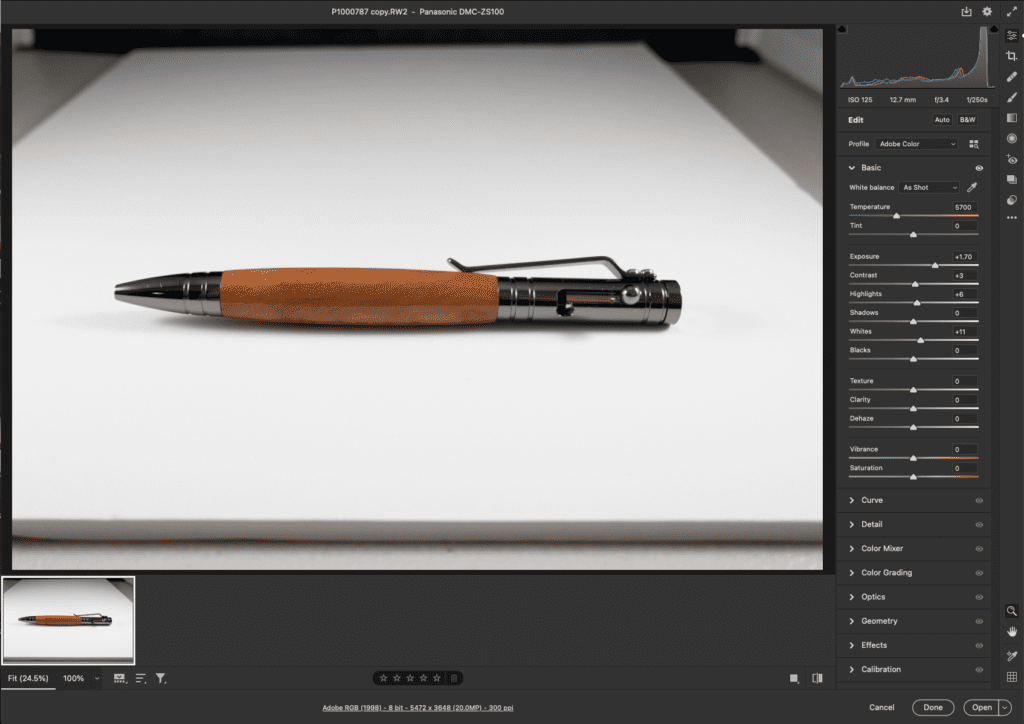
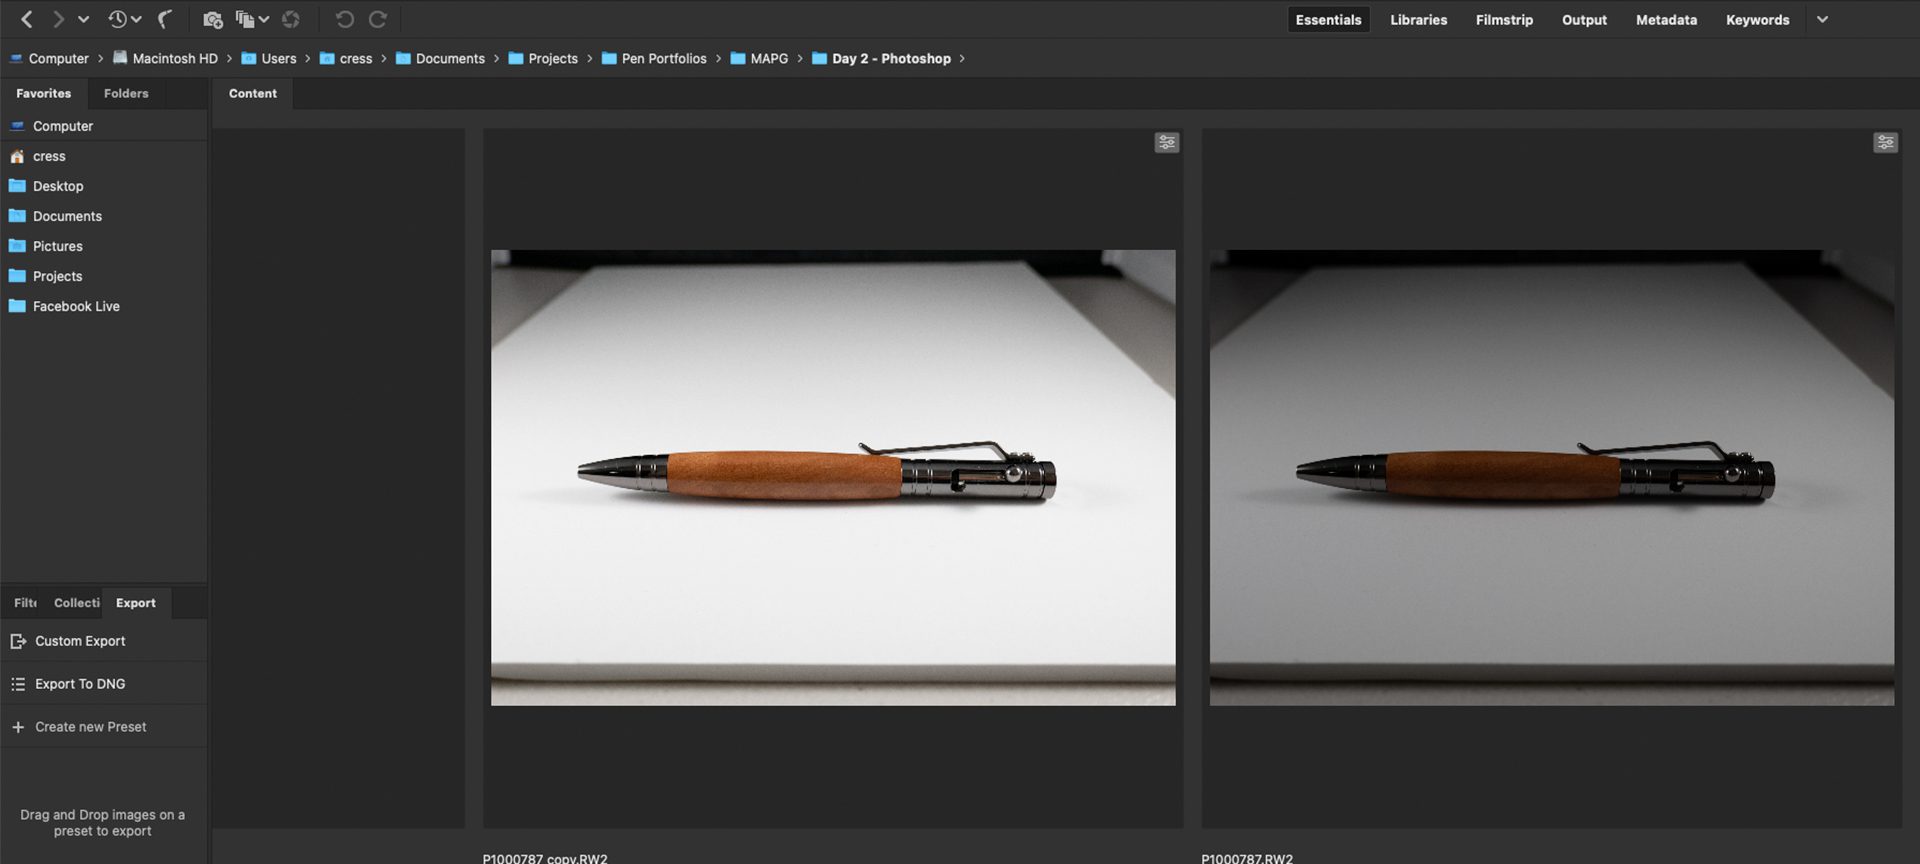
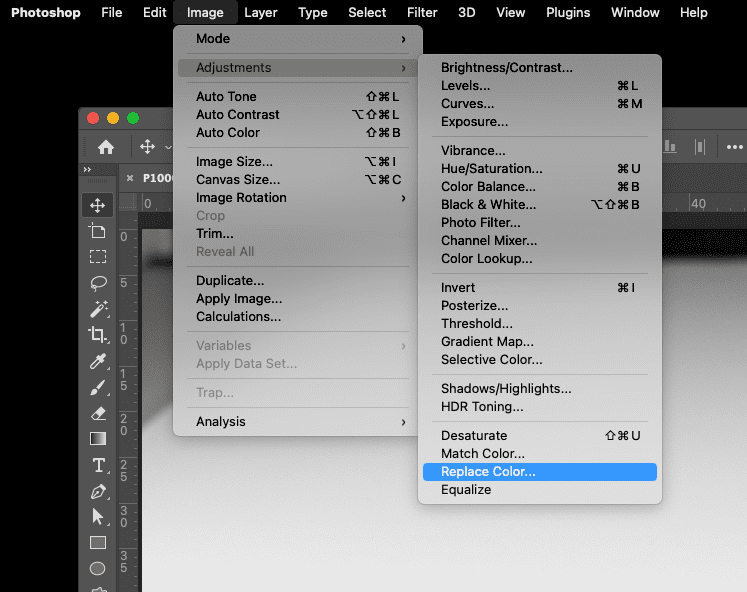
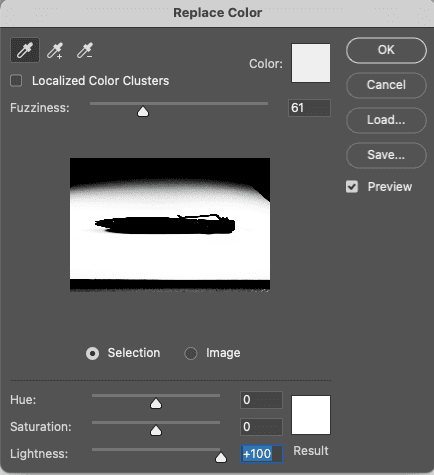
Making your white background white
Yes, we took our photos on the white background but of course it’s never stark white so we’re going to go over a few ways how to accomplish that.
Spot healing brush
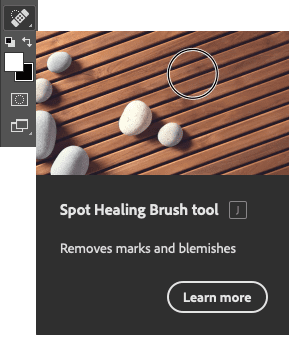
This is one of my favorite tools in all of Photoshop. It is so quick and handy at removing little dust specs.
Hue/Saturation adjustment layer
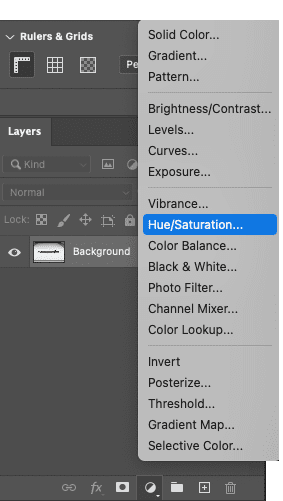
This is a trick I use to remove color casts from the metal hardware on the pens. Many of the pens have titanium, rhodium, steel, etc and if your skin may reflect in the hardware or your warm ambient light might warm up the hardware a bit, this trick will help you remove that.
It’s not as easy for gold hardware but it’s also not as necessary because gold hardware is warmer anyway.
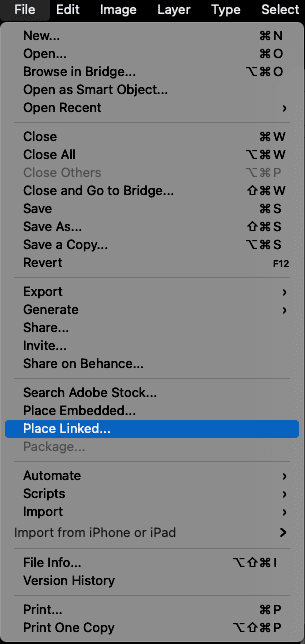
Add your logo
You may want to add your own logo to the image. I’ll show how to have it appear in the same place each time and how to change the color to perfectly match your pen photo
Create a template
Now that you’ve done all this hard work, save a template with your logo at the optimum size required by your e-commerce platform.
That’s a wrap!
And there you have it, folks!
Hopefully, these steps will help you improve your pen photos. Don’t be afraid to subscribe to our list so you can be made aware of new posts. And feel free to share your images and questions/comments below.Thank you!


