3 Tools to Improve Your Product Photography
Product photo retouching
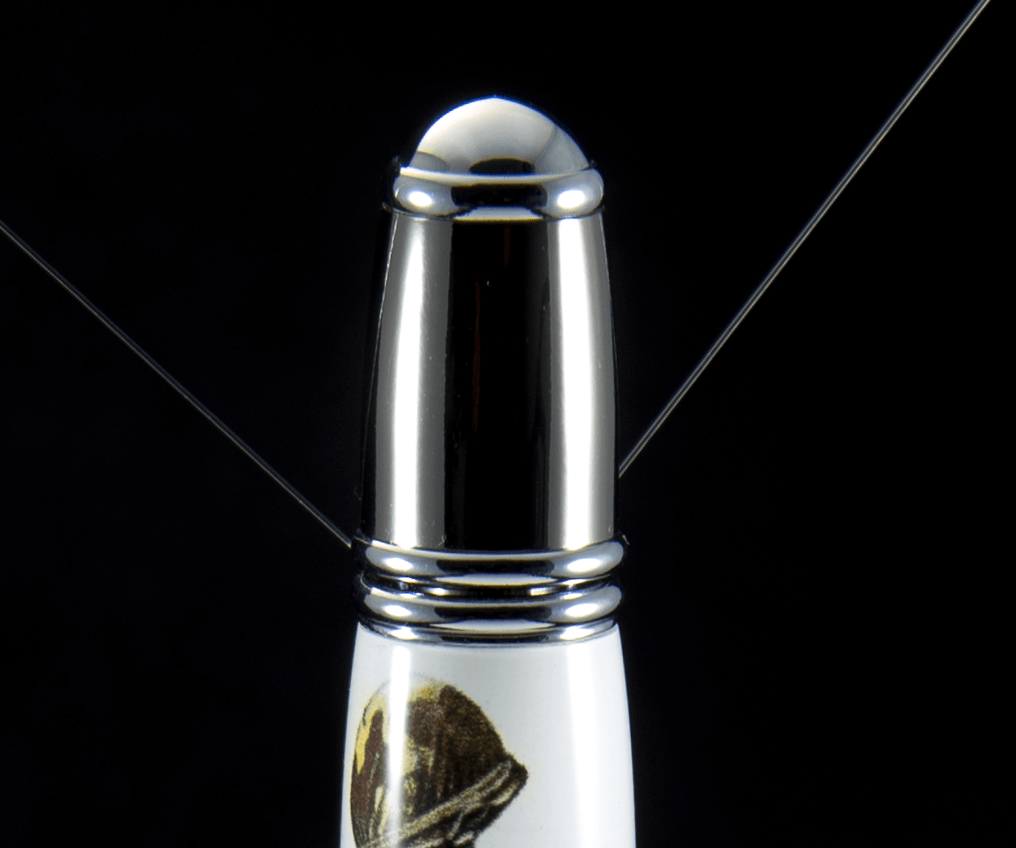
This is the final image that I was aiming for with this pen. I hung it from some fishing line in my lightbox and shot it on a black background so that I wouldn’t have any shadows. I photographed this in my LimoStudio 16X16 lightbox which you can read about here. The idea was to show off the detail of the blank that was cast.
WHAT I USED
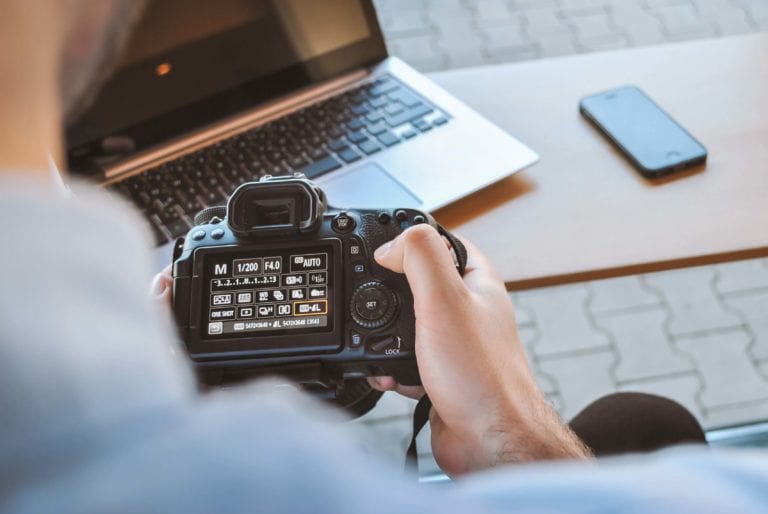
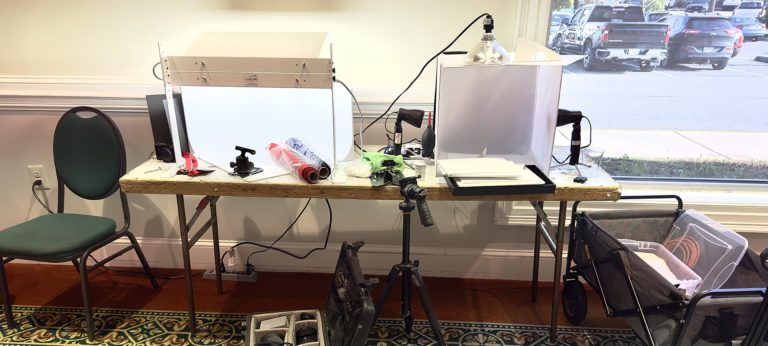
Camera and Lightbox (I wrote about both in this post)
- Panasonic Lumix ZX100
- LimoStudio 16X16 Lightbox.
Computer & Software
- Photoshop 2020
- Macbook Pro
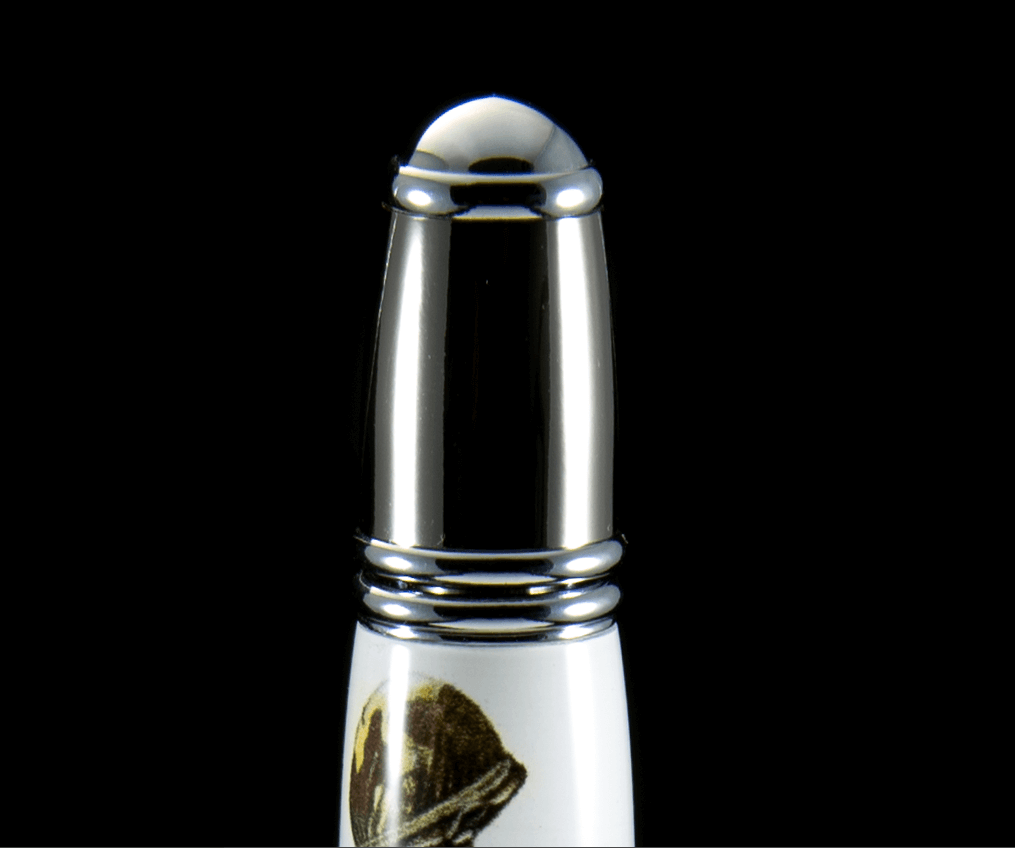
 Final image result
In the pursuit to achieve the best possible product photos, there needs to be some retouching and my application of choice for that is Photoshop. There are lots of other applications that can do the same things but I’ve been using Photoshop for 20 years so Photoshop is my go-to app.
I’m referring to this as the “basics” because I do these steps to each of my pen photos.
- Remove the dust and lint
- Remove color cast and reflections in the hardware
Below is a video of me going through all the steps that I’m about to go over in this blog post. I apologize for the audio which sounds like my nose is stuffed up. I’ll figure out how to improve that for future posts, for now, I thought it was important to get out these basic tips.
Step 1: Clone Stamp Tool
Pro Tip
It’s always a good idea to start your retouching by making a duplicate of the original image layer. You can do this by pressing COMMAND/CONTROL + J while the Background layer is selected. Or you can simply drag the background layer to the + sign at the bottom of the layers palette.
This ensures what photographers refer to as “non-destructive” editing meaning that the original image is not destroyed and you can easily revert back to the original image. It also makes it really easy to toggle off/on the retouching you’ve done.
The first tool I want to show you is the clone stamp tool. The keyboard shortcut for the clone stamp is S and this tool works by setting a target from where the tool will sample by pressing ALT and clicking on the area where you want Photoshop to sample from. Then when you click the mouse Photoshop will fill the brush with pixels sampled from the target area.
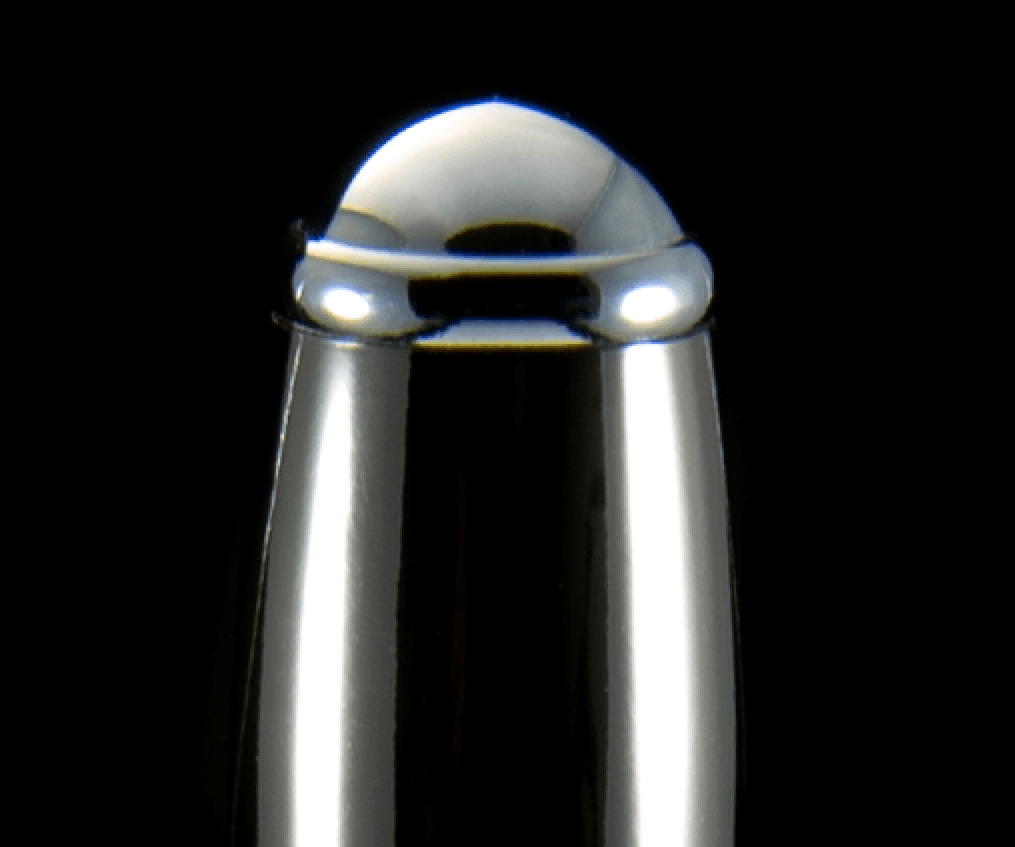
 Clone Stamp Tool
When a Photoshop tool is selected it’s referred to as a “brush” because you can change the size, shape, pressure, etc just like choosing a brush in real life.
These days, the Clone Stamp Tool shows a preview of what the area will look like when you click the mouse which is super nice because it didn’t do that way back in the earlier versions of Photoshop. I mention in the video that you want to choose a soft edge brush. This means that the rounded edge is kind of featured and I do that to avoid any harsh circles on the image. Also, some handy keyboard shortcuts you’ll want to learn is to use the square bracket keys — [ ] — just above the apostrophe and RETURN/ENTER because those will resize the brush for you and that’s way easier than going to the brush properties.
Step 2: Spot Healing Brush
The next tool I use is called the Spot Healing Brush and it’s probably my favorite when removing lint and dust from an image.
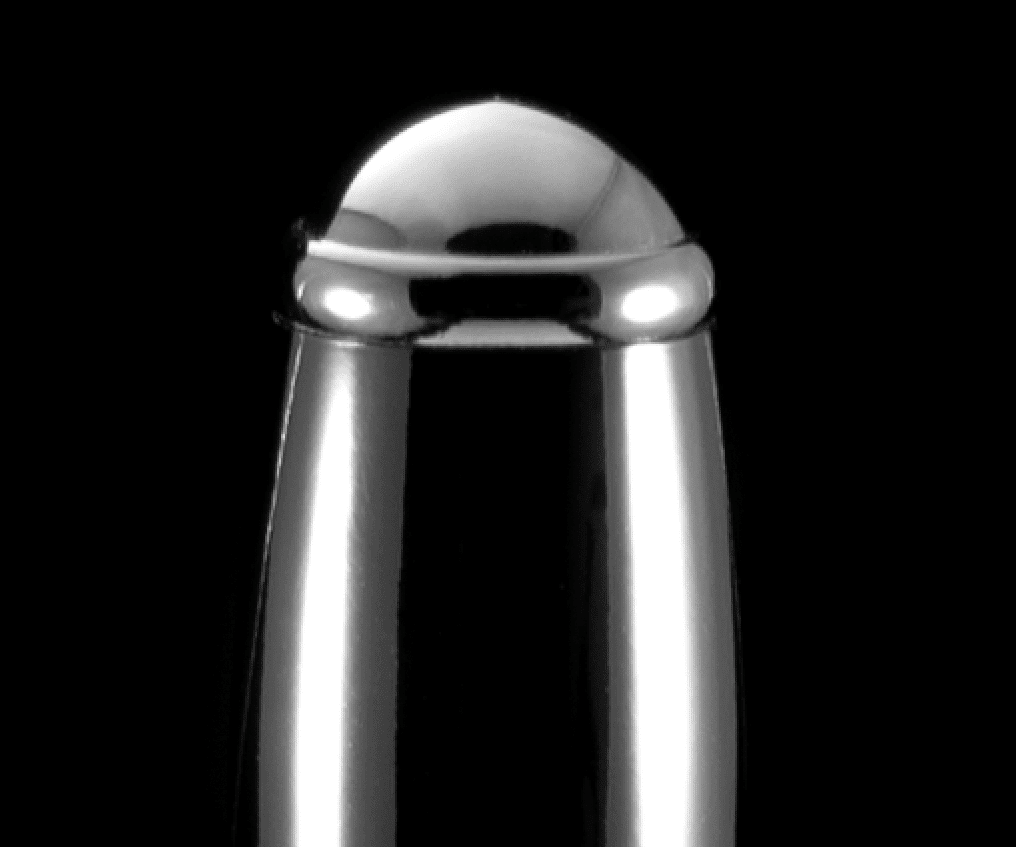
 Photoshop Spot Healing Brush
I always use Renaissance Wax on pens before I put them in the lightbox but no matter how careful I am to clean them up, there is always some dust and lint that is visible once I get the photo on my big screen. I actually did a pretty good job cleaning this pen up so the before/after in the image below isn’t that drastic but if you look closely you should be able to see the difference.
The keyboard shortcut for Spot Healing Brush is J and you set the brush size the same as the Stamp Tool using the square brackets — [ ] — and then you just click the mouse on the piece of lint you want to remove.

Step 3: Hue Saturation Adjustment Layer
ATTENTION: This doesn’t work on the gold hardware. It’s intended for chrome, gunmetal, rhodium, black titanium.
Have you ever taken what you thought was a super awesome photo of your pen only to see yourself taking the picture in the reflection of the pen hardware? Yeah, me too! In order to minimize this I use some white (or black, depending on the situation which I’ll cover in another post) bounce cards but I still sometimes get some reflections. There are also some weird things going on in the lens’s ability to adjust to contrast in a scene called “aberration” but that’s not important. What you need to know is that you can easily remove those colors that don’t belong in your pen hardware with a hue/saturation adjustment layer in Photoshop.
At the bottom of the layer palette is kind of a ying/yang looking symbol, clicking that will reveal all the layer adjustments and for this tip you want to select the Hue/Saturation. After selecting that. you’re going to see a new layer appear above whatever layer you were on as well as some new sliders in the properties menu.
I slide the saturation all the way to the left to -100 which will make you a black and white image. Then with the hue/saturation layer selected, I hit COMMAND/CONTROL I to invert the selection. That means the little white box will be black now and your image will no longer be black white. Then ensure that your foreground color is set to white and then press B to bring up the brush tool and you simply paint the over the pen’s hardware. That will paint the color from the reflections right out of the image.
It’s definitely easier to follow along in the video to see how this works.


Wrapping up
Of the three tools I’ve shown you in this post I use the spot healing brush the most because there’s always little dust and lint spots on the images. I really only use the clone stamp to remove something from the image like a fishing line or the little post that I rest pens on in this post called Floating Pen Effect.
Removing the color cast or reflections from the pen hardware isn’t always necessary depending on lots of different situations. Some lightboxes are fully enclosed with just a peephole for you to poke the camera into. I often turn off all the lights in my office and shut the curtains so that it’s dark everywhere but in the lightbox. In a future post, I’ll show the bounce cards that I use to minimize reflection. One thing to note about the hue/saturation technique I showed is that it doesn’t work for gold hardware, only the chrome, gunmetal, black titanium, rhodium. There’s another technique for that that I’ll save for another post because this is already long enough.
Get the latest news
Enter your email address below to get the latest Pen Portfolio news directly to your inbox.
Thank you!
You’ve been added to our list — we’ll be in touch.
But that’s so much work…
If you’re just seeing this for the first time it might seem like an awful lot of work to go through for some product photos. I do go through these steps, at a minimum, for each photo that I post to my online store because I want to show the best version of the pen that I can. It takes me just a few minutes to go through each of these steps. The fact of the matter is that the pens aren’t selling like hotcakes as soon as I post them online so it does have a little bit of a life span. And if you think about it, if you were buying something and you were choosing between two stores that had the same price, wouldn’t you choose the one with the nicer looking photos of the product that gave you a good idea of what you were getting? Probably!
I hope this was helpful. Please comment below if you have any questions. And as always, thanks for reading.