The most important topic on this website : Exposure
Exposure
I can’t believe it’s been this long and I have not yet brought up the topic of exposure. It’s literally the most important aspect of photography so let’s get right into it!
Exposure is made up of three things:
1. Aperture
2. Shutter speed
3. ISO
Aperture
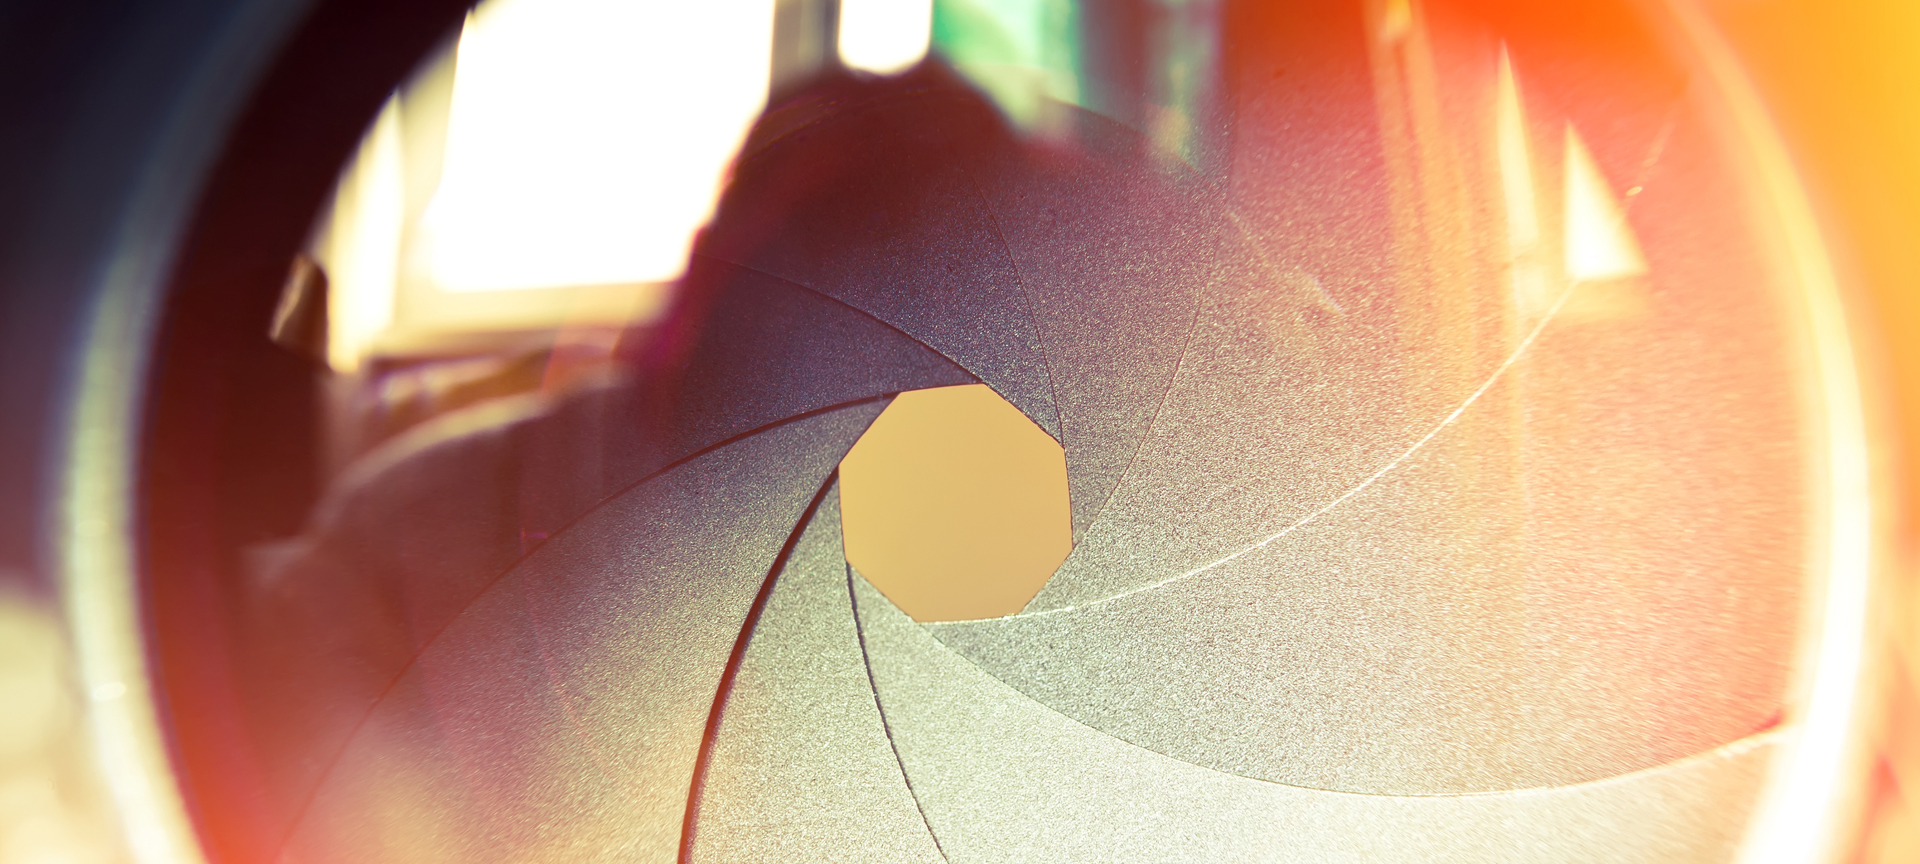
Aperture is a function of the lens and refers to the size of the opening that lets in light. Aperture settings are measured in f-stops. What’s often confusing about aperture is that the smaller number equals the larger the opening, so f/2 is a larger opening than f/8.

Aperture controls something called “depth of field” which refers to a portion of the image being in or out of focus. The graphic below illustrates how each f-stop setting would affect the pyramids behind the stick person. I like to think of aperture as deciding what will be in focus. When taking a picture I ask myself, “do I want one thing to be in focus or all the things to be in focus?”

Shutter
Shutter speed is a function of the camera and refers to how fast the opening from the body of the camera to the lens opens and closes. Shutter speed is used to stop motion. The figure below illustrates how the shutter speed affects the running stick figure. At 1/500th of a second the stick person is perfectly frozen in time but at 1/2 a second there is a lot of blur.

ISO
ISO is also a function of the camera and refers to the sensitivity of the sensor. Basically, the higher the ISO number, the more sensitive your camera sensor becomes which makes your photos brighter.
If you’re in a darkly lit setting then you may need to raise the ISO to achieve a proper exposure but the trade-off is that you introduce grain into the image. Photographers refer to this grain as “noise” and many photo editing applications have a noise slider that attempts to reduce the noise. The image below depicts how ISO introduces noise at various levels.

Camera Modes
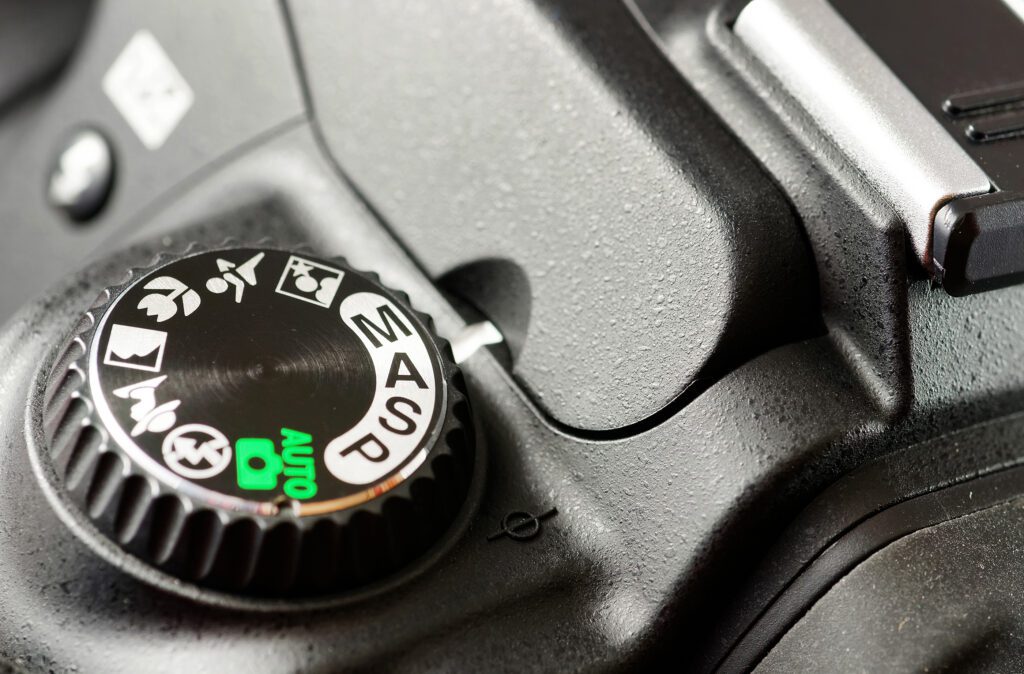
You may recognize the above close-up of the camera mode dial. It varies a little bit based on the brand of camera but they’re mostly the same, even for point-and-shoot cameras. On smartphone cameras you’ll need to look for “professional” mode in some of the applications like the Adobe Lightroom mobile app to access these settings. For our purposes now we’re only going to cover three of the modes.
Aperture Priority (A or Av): When you set the camera to aperture priority, you choose the aperture and the camera will automatically determine the shutter speed and ISO (* if ISO is set to AUTO) to achieve the proper exposure.
Shutter Priority (S or Tv): In Shutter Priority mode you determine the shutter speed and the camera will automatically set the aperture and ISO (* if ISO is set to auto) to achieve the proper exposure.
Manual Mode: When set to Manual Mode, you have to determine all three settings (aperture, shutter speed, and ISO) in order to determine the proper exposure.
* It’s worth mentioning that you can override the ISO setting in Aperture or Shutter Priority mode if you want to have some control over the noise in the image.
Which mode should you use?
Now that you’re armed with all this knowledge of exposure, which setting should you use? We can rule out shutter speed because the pens we’re photographing aren’t moving. That leaves us with Aperture and Manual. I shoot in Aperture priority 90% of the time because I like to control the depth of field in my images. However, you may run into some problems when photographing your pens in a light box. That is because it’s all white inside and the camera doesn’t really understand why so you may get some over exposed results if you don’t take control. For that reason, I recommend Manual when photographing in a light box.
I hope this was useful. I feel like I can talk quite a bit more about Aperture priority so I’ll probably write a separate blog post about that later. Please feel free to ask any questions below in the comments if there’s something that doesn’t make sense. Thanks for reading!