Floating Pen Effect
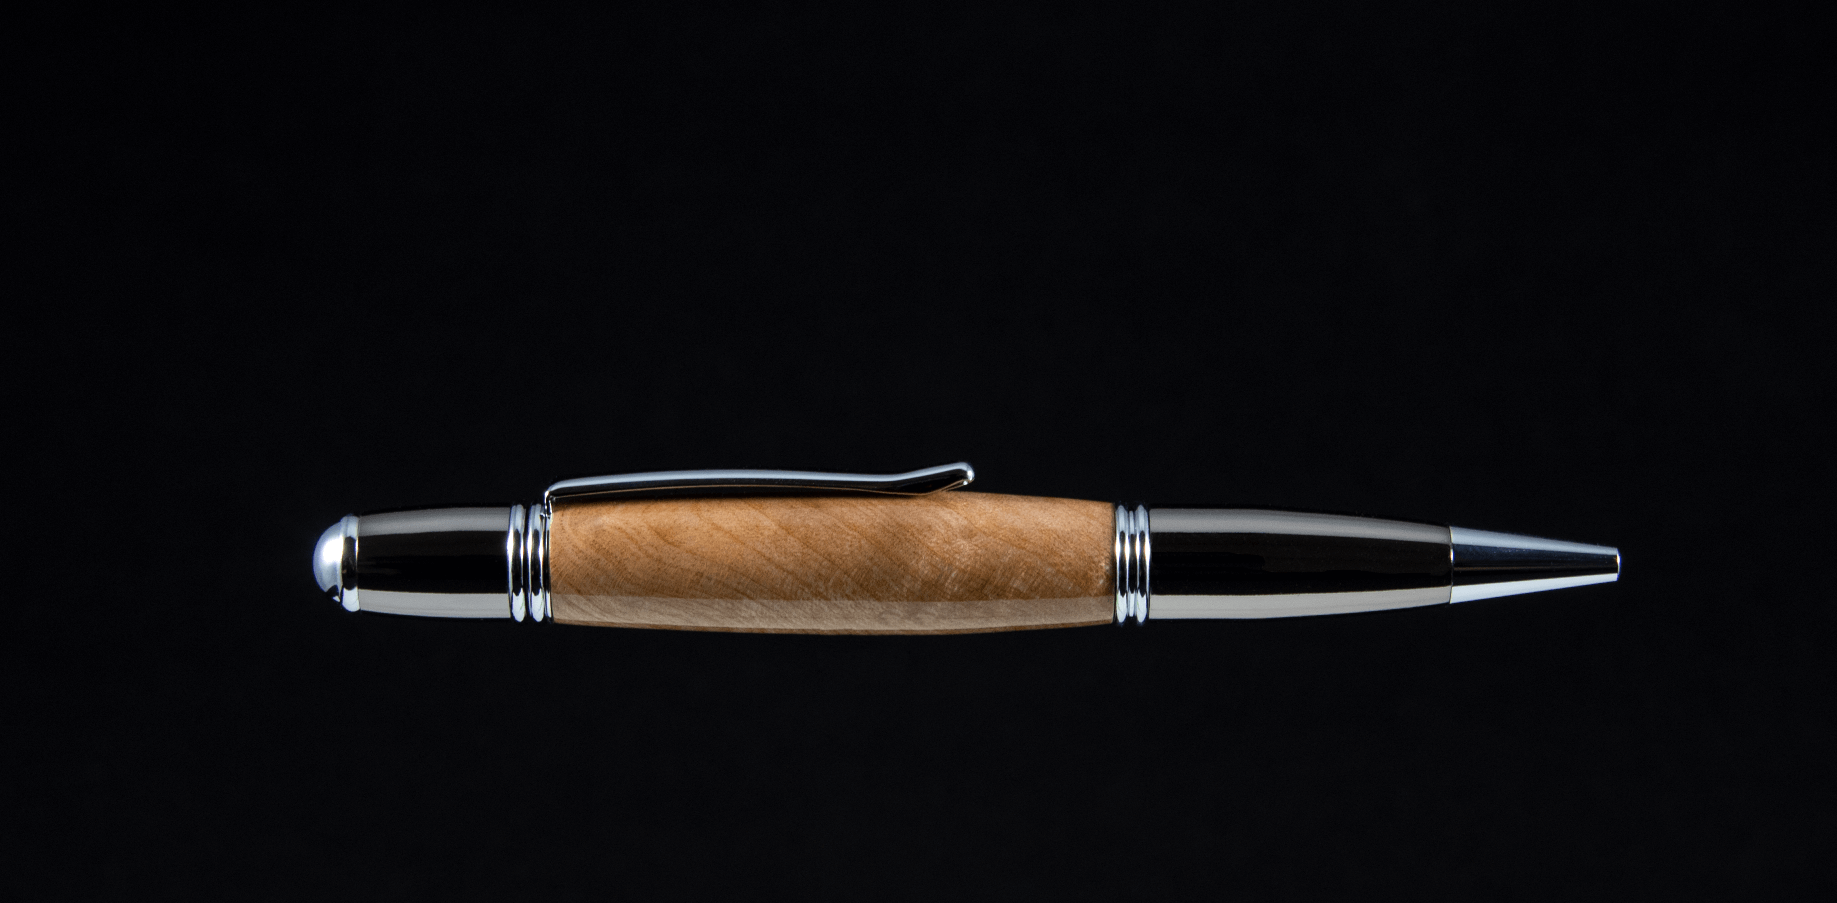
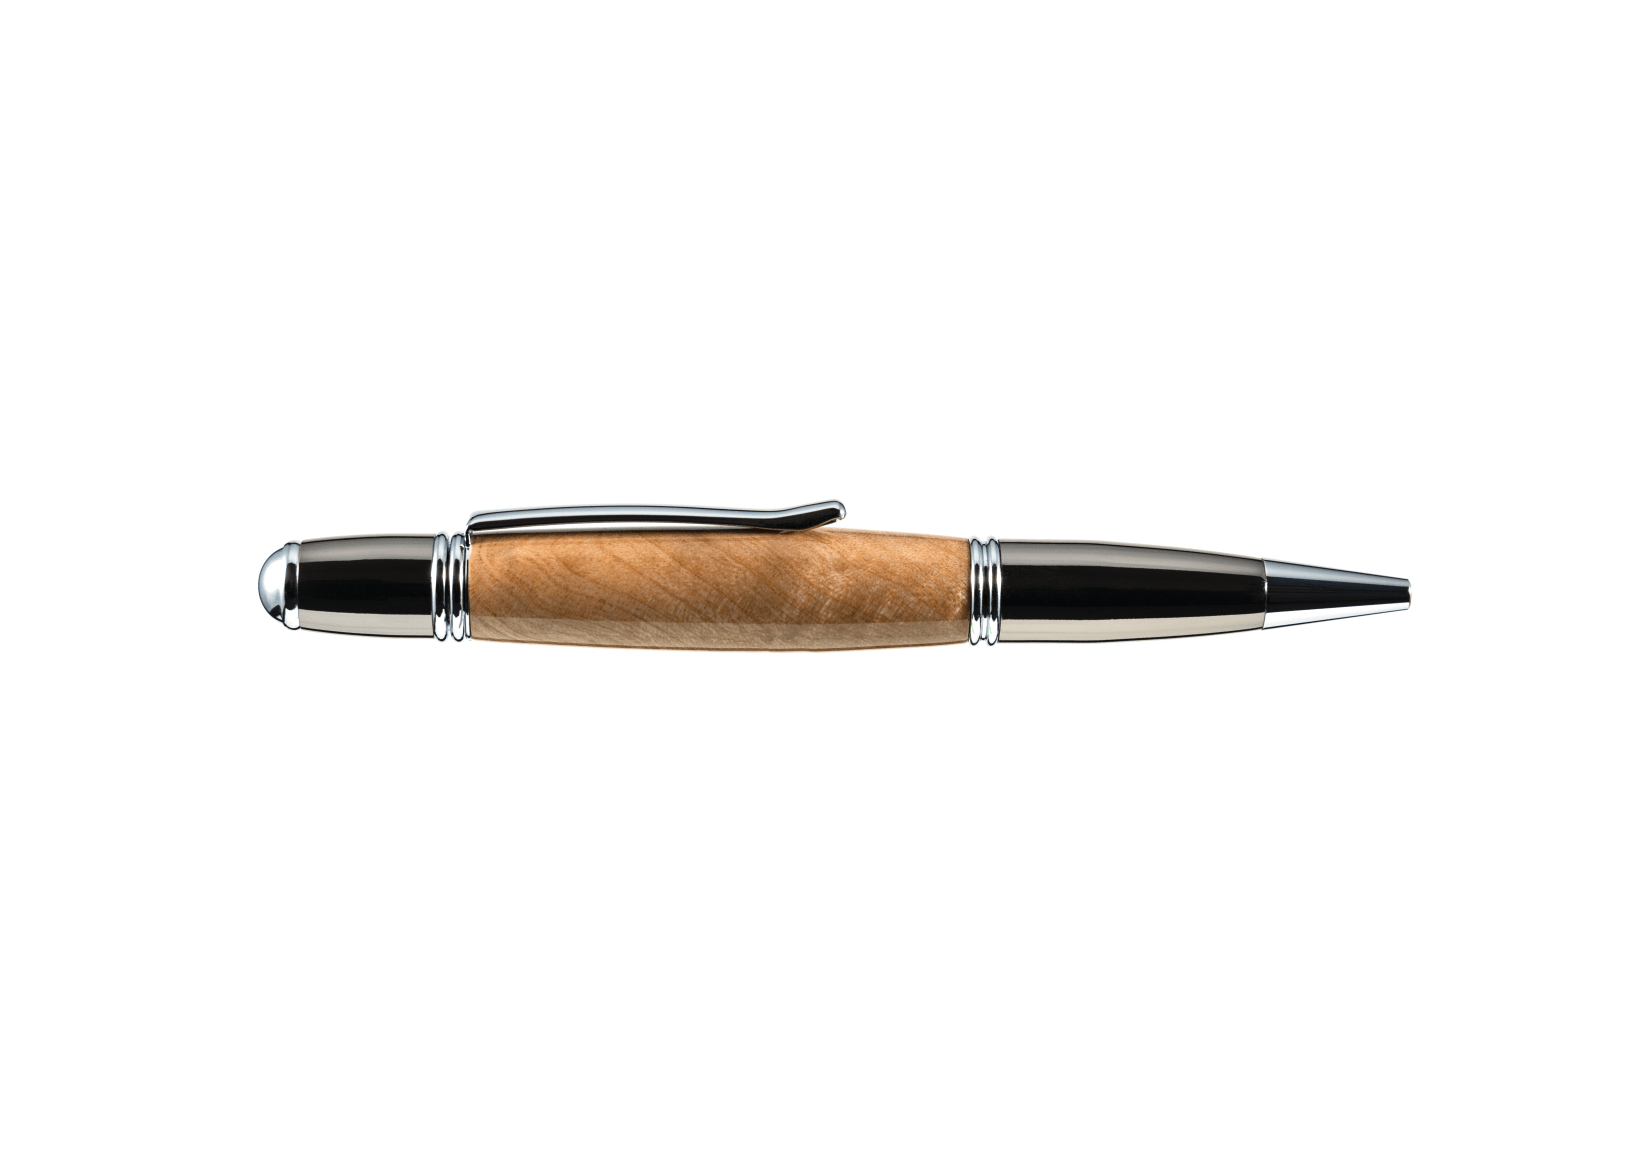
What I used
¼” dowel (4 ½” long)
⅛” plywood square (3 ½” square)
Drill with ½” drill bit
Chromakey spray paint (not necessary)
1 white napkin
Why?
In trying to come up with great photographs for online sales I tend to experiment a lot and I think this particular technique is pretty cool because it completely eliminates any shadows under the pen, creating a floating effect.
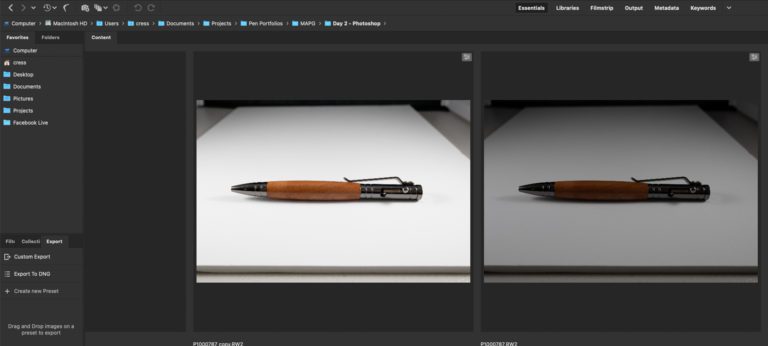
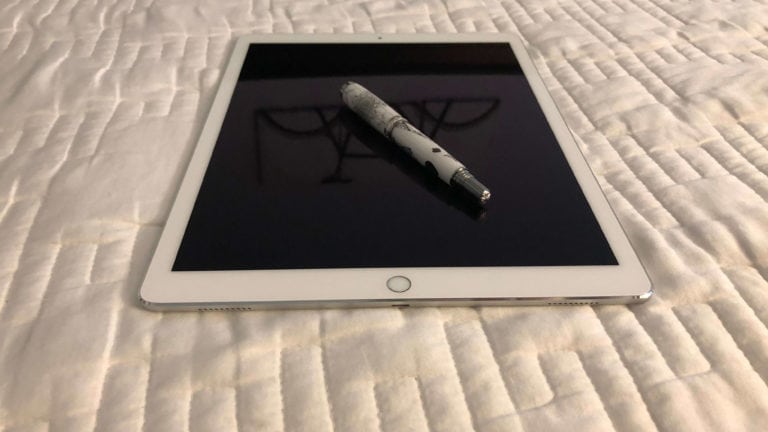
Here’s a pen I photographed directly on the white background that came with my photo tent.
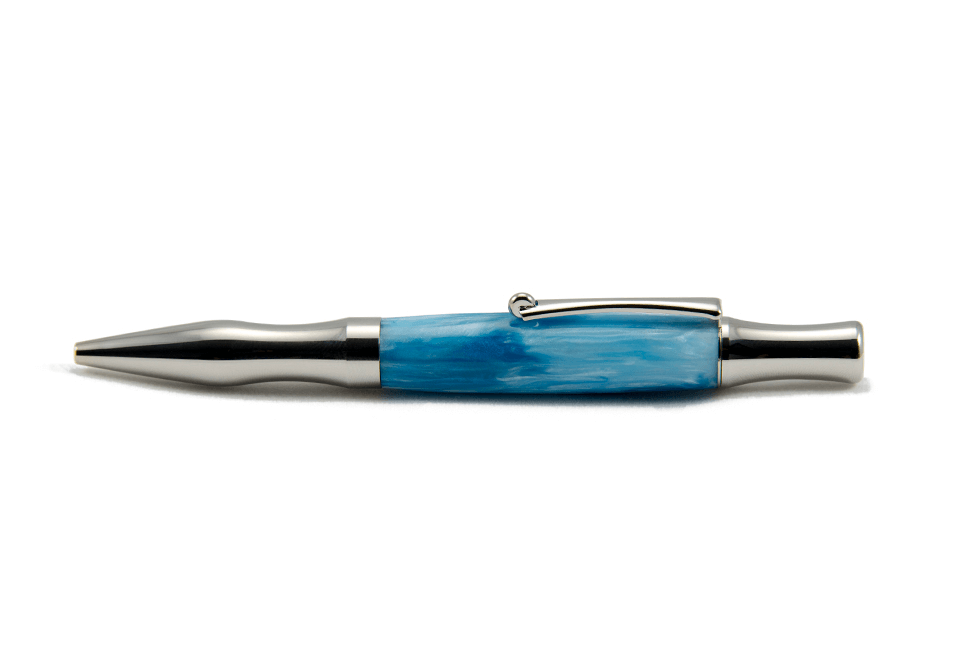
Do you see the shadows under the pen?
There’s nothing wrong with shadows, in fact, sometimes we want shadows because they help define shapes and create depth but I was messing around and I think this looks pretty good with no shadows.
So how’d I do it?
The idea is simple, get the pen up off a flat surface and photograph it in the air so that the background is all you see in the scene. To do this I needed something thin to hold the pen off the surface. I wanted it to be thin so that I could easily Photoshop it out of the image. Yes, Photoshop was involved in the process.
I had a wooden dowel in the garage so I took a ½” drill bit and drilled the dowel right in half. That created the divet in the end to hold the pen. Then I found a scrap piece of ⅛” plywood and drilled a hole in it the same diameter as the dowel. Applied some wood glue and waited a few minutes to dry. So simple!
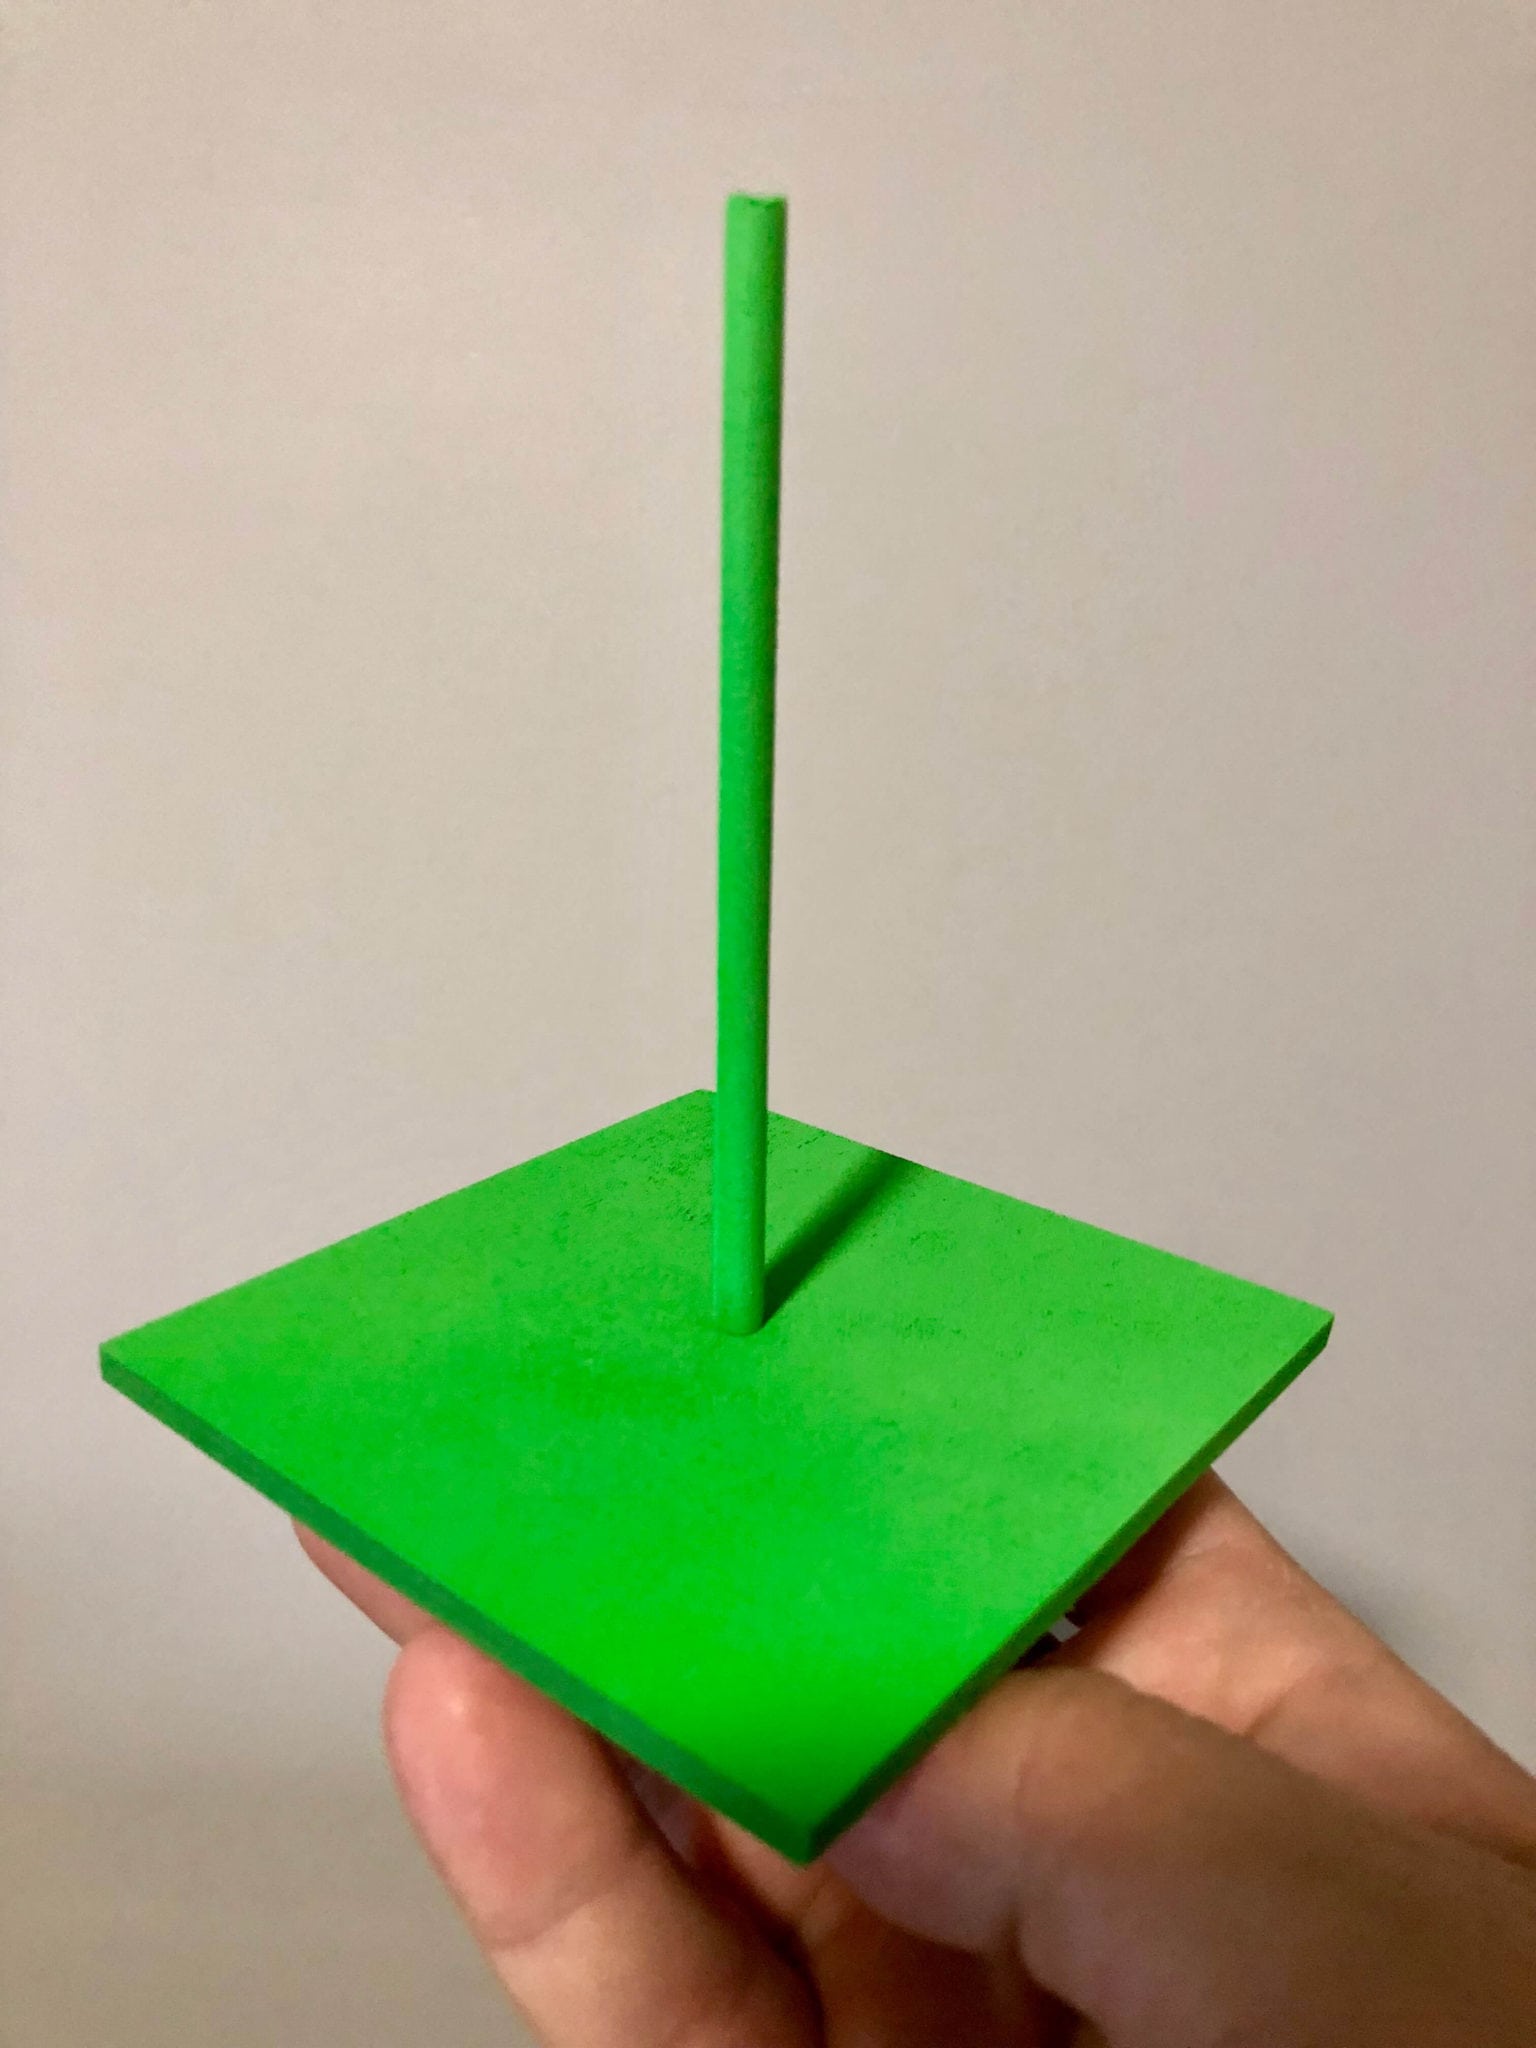
But why is it green?
Well… I did some video production work in a past life and I thought maybe the chromakey green would make be useful but it wasn’t so you can skip that step.
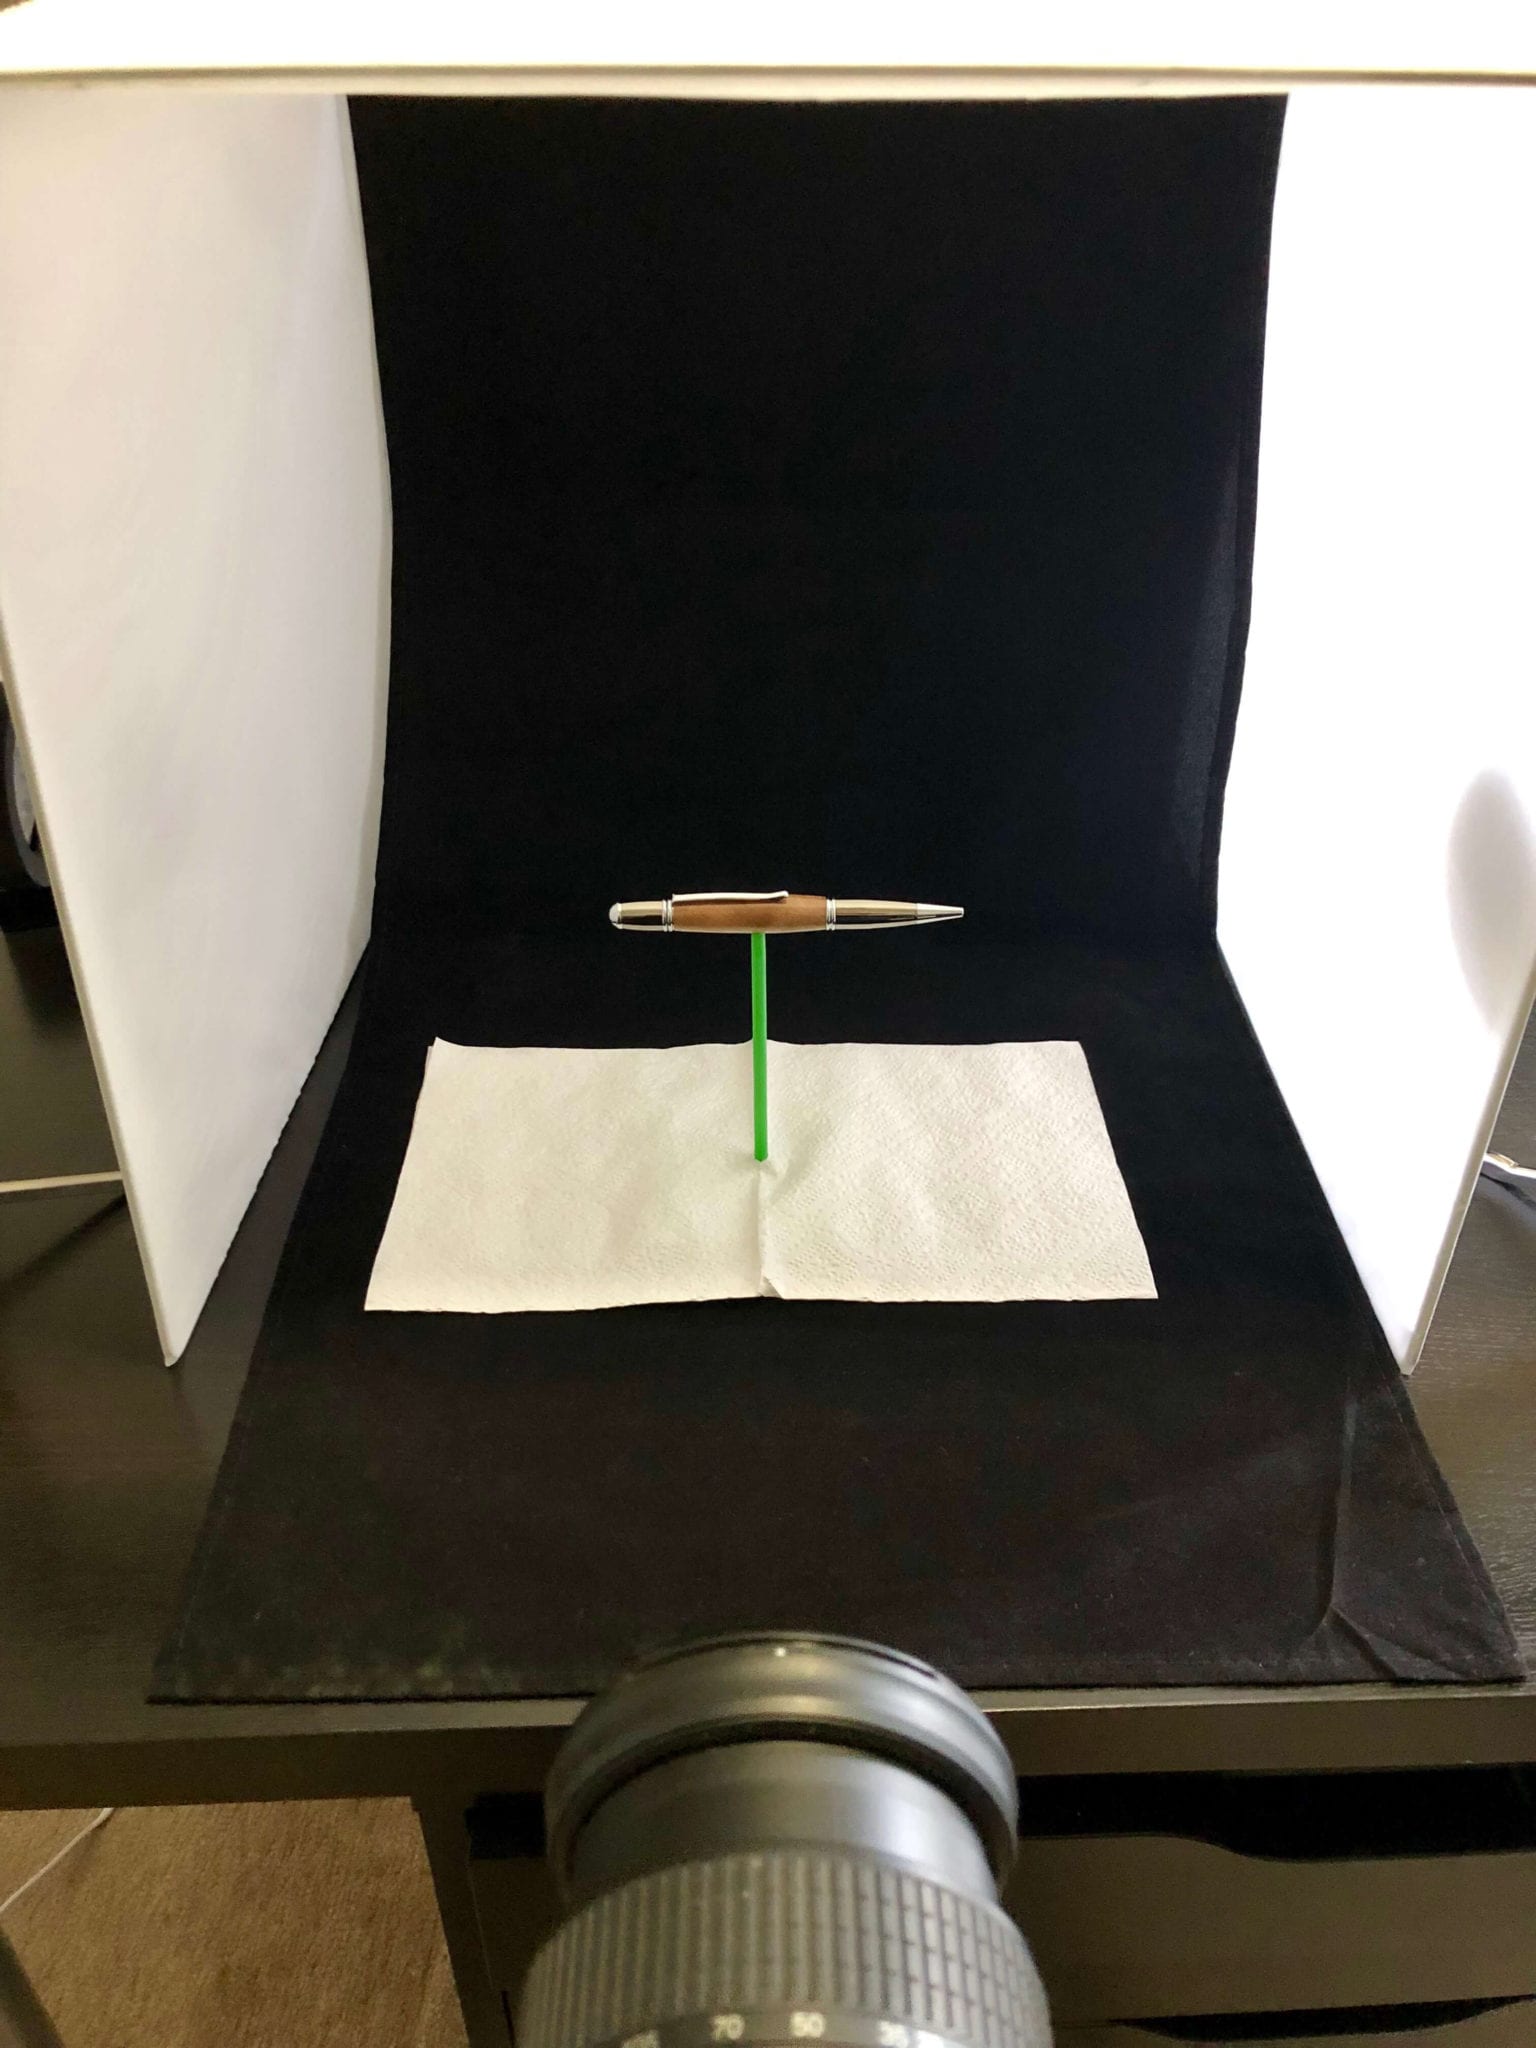
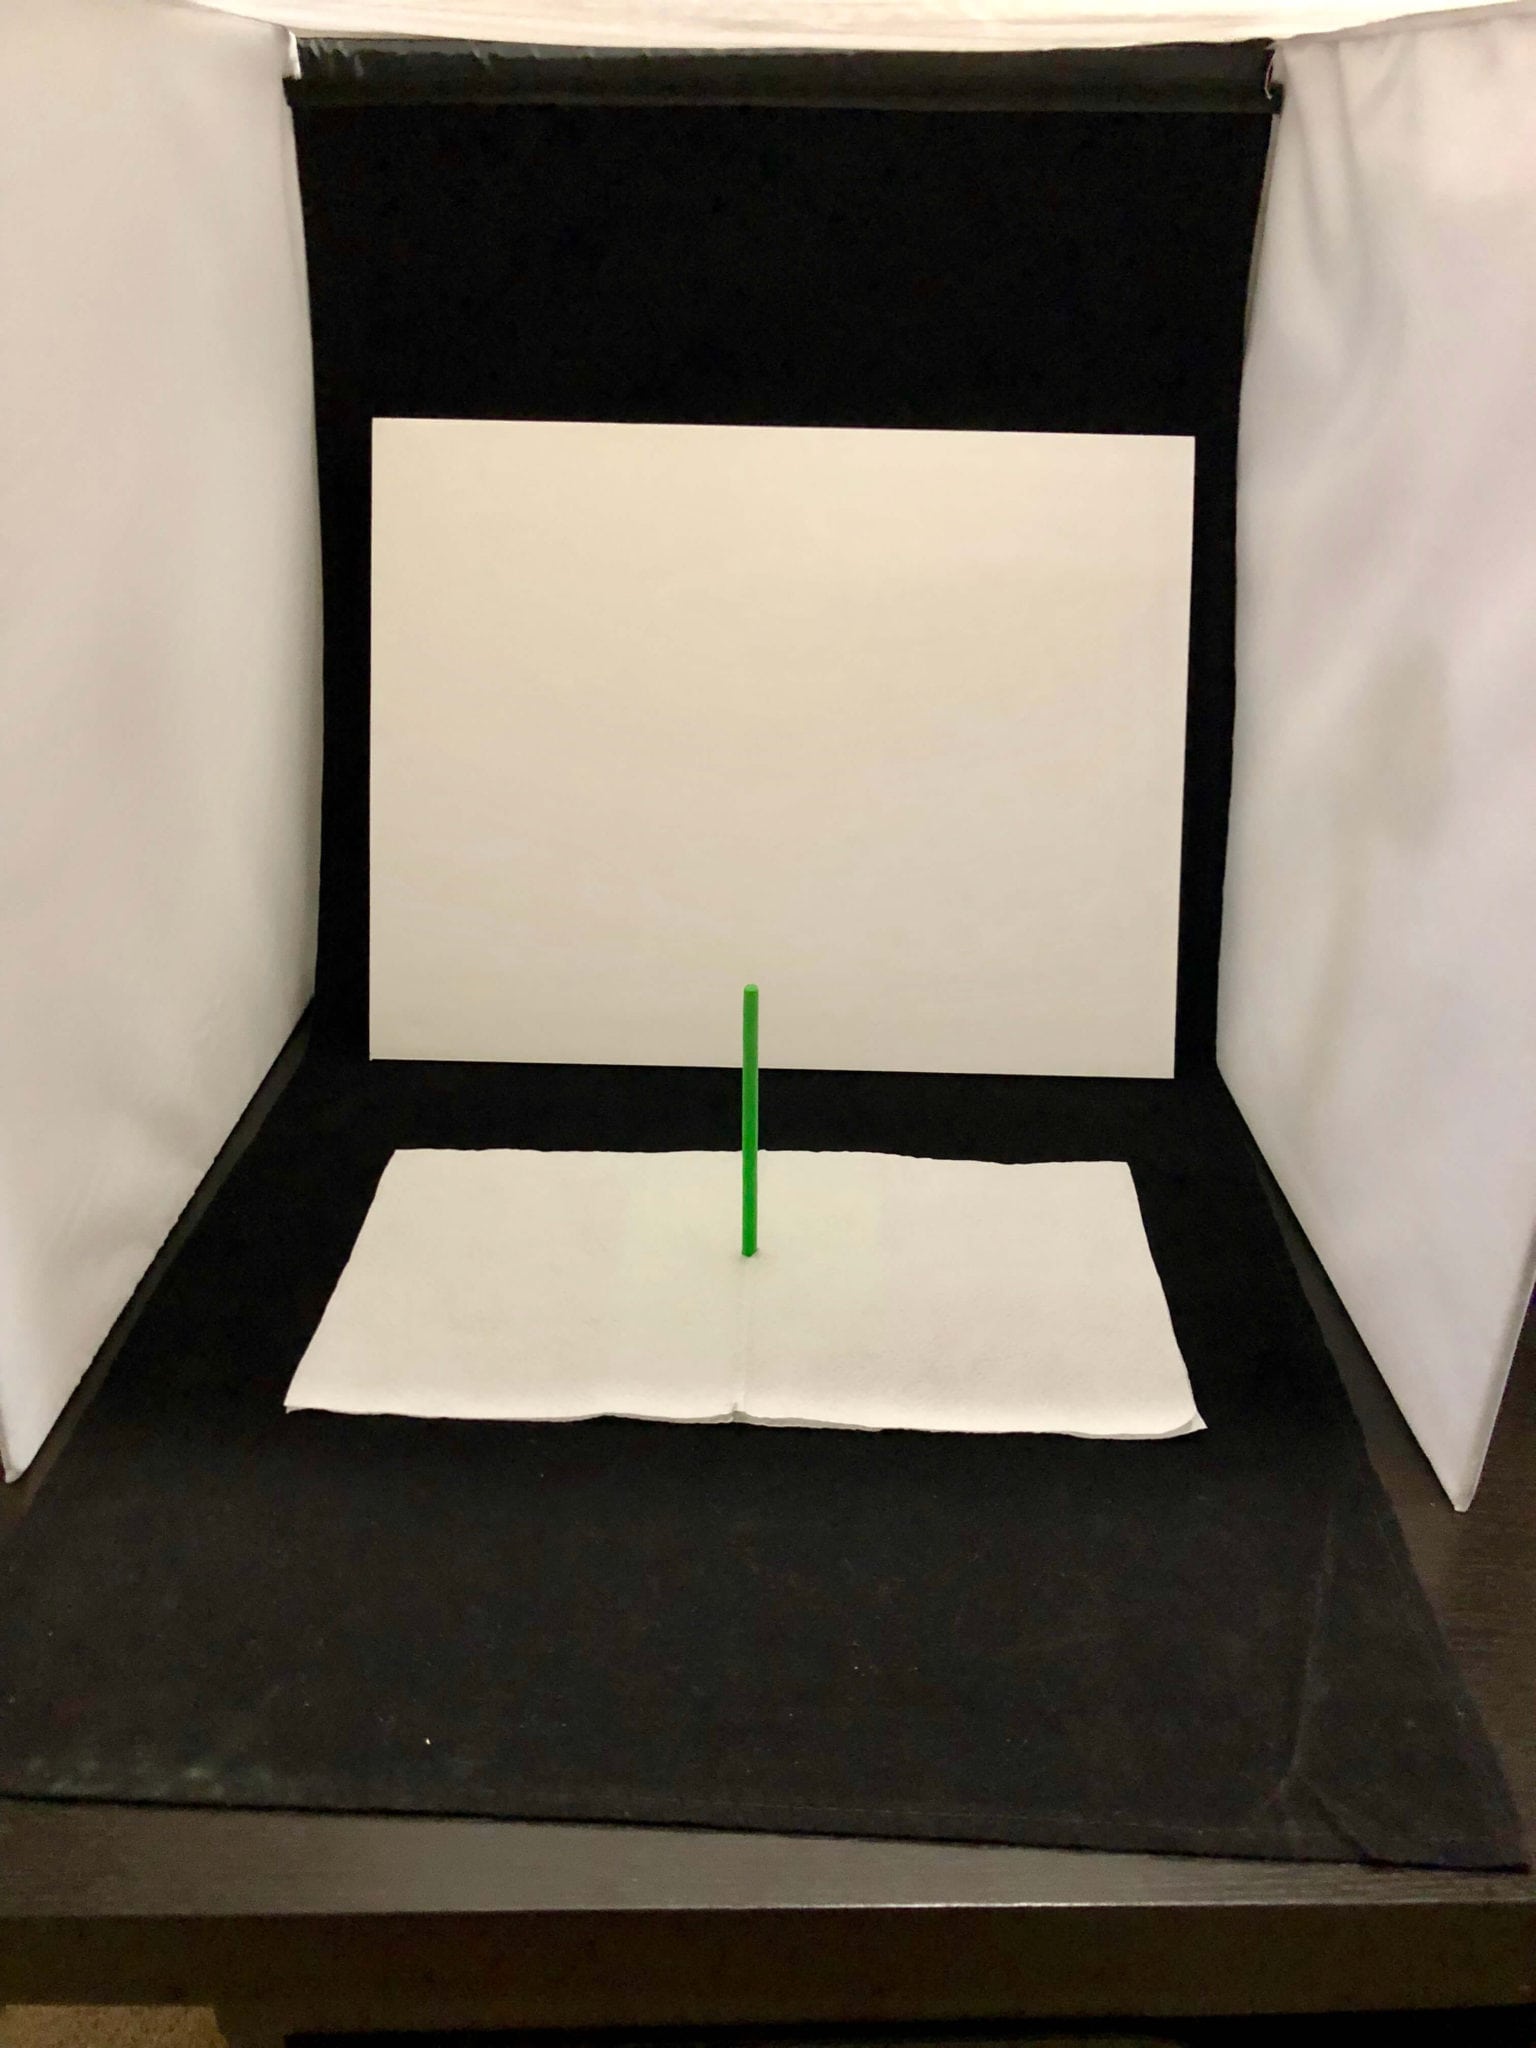
Here’s the stand in the Limo Studio 16″ tent kit I’m using. It’s $33.17 right now on Amazon.
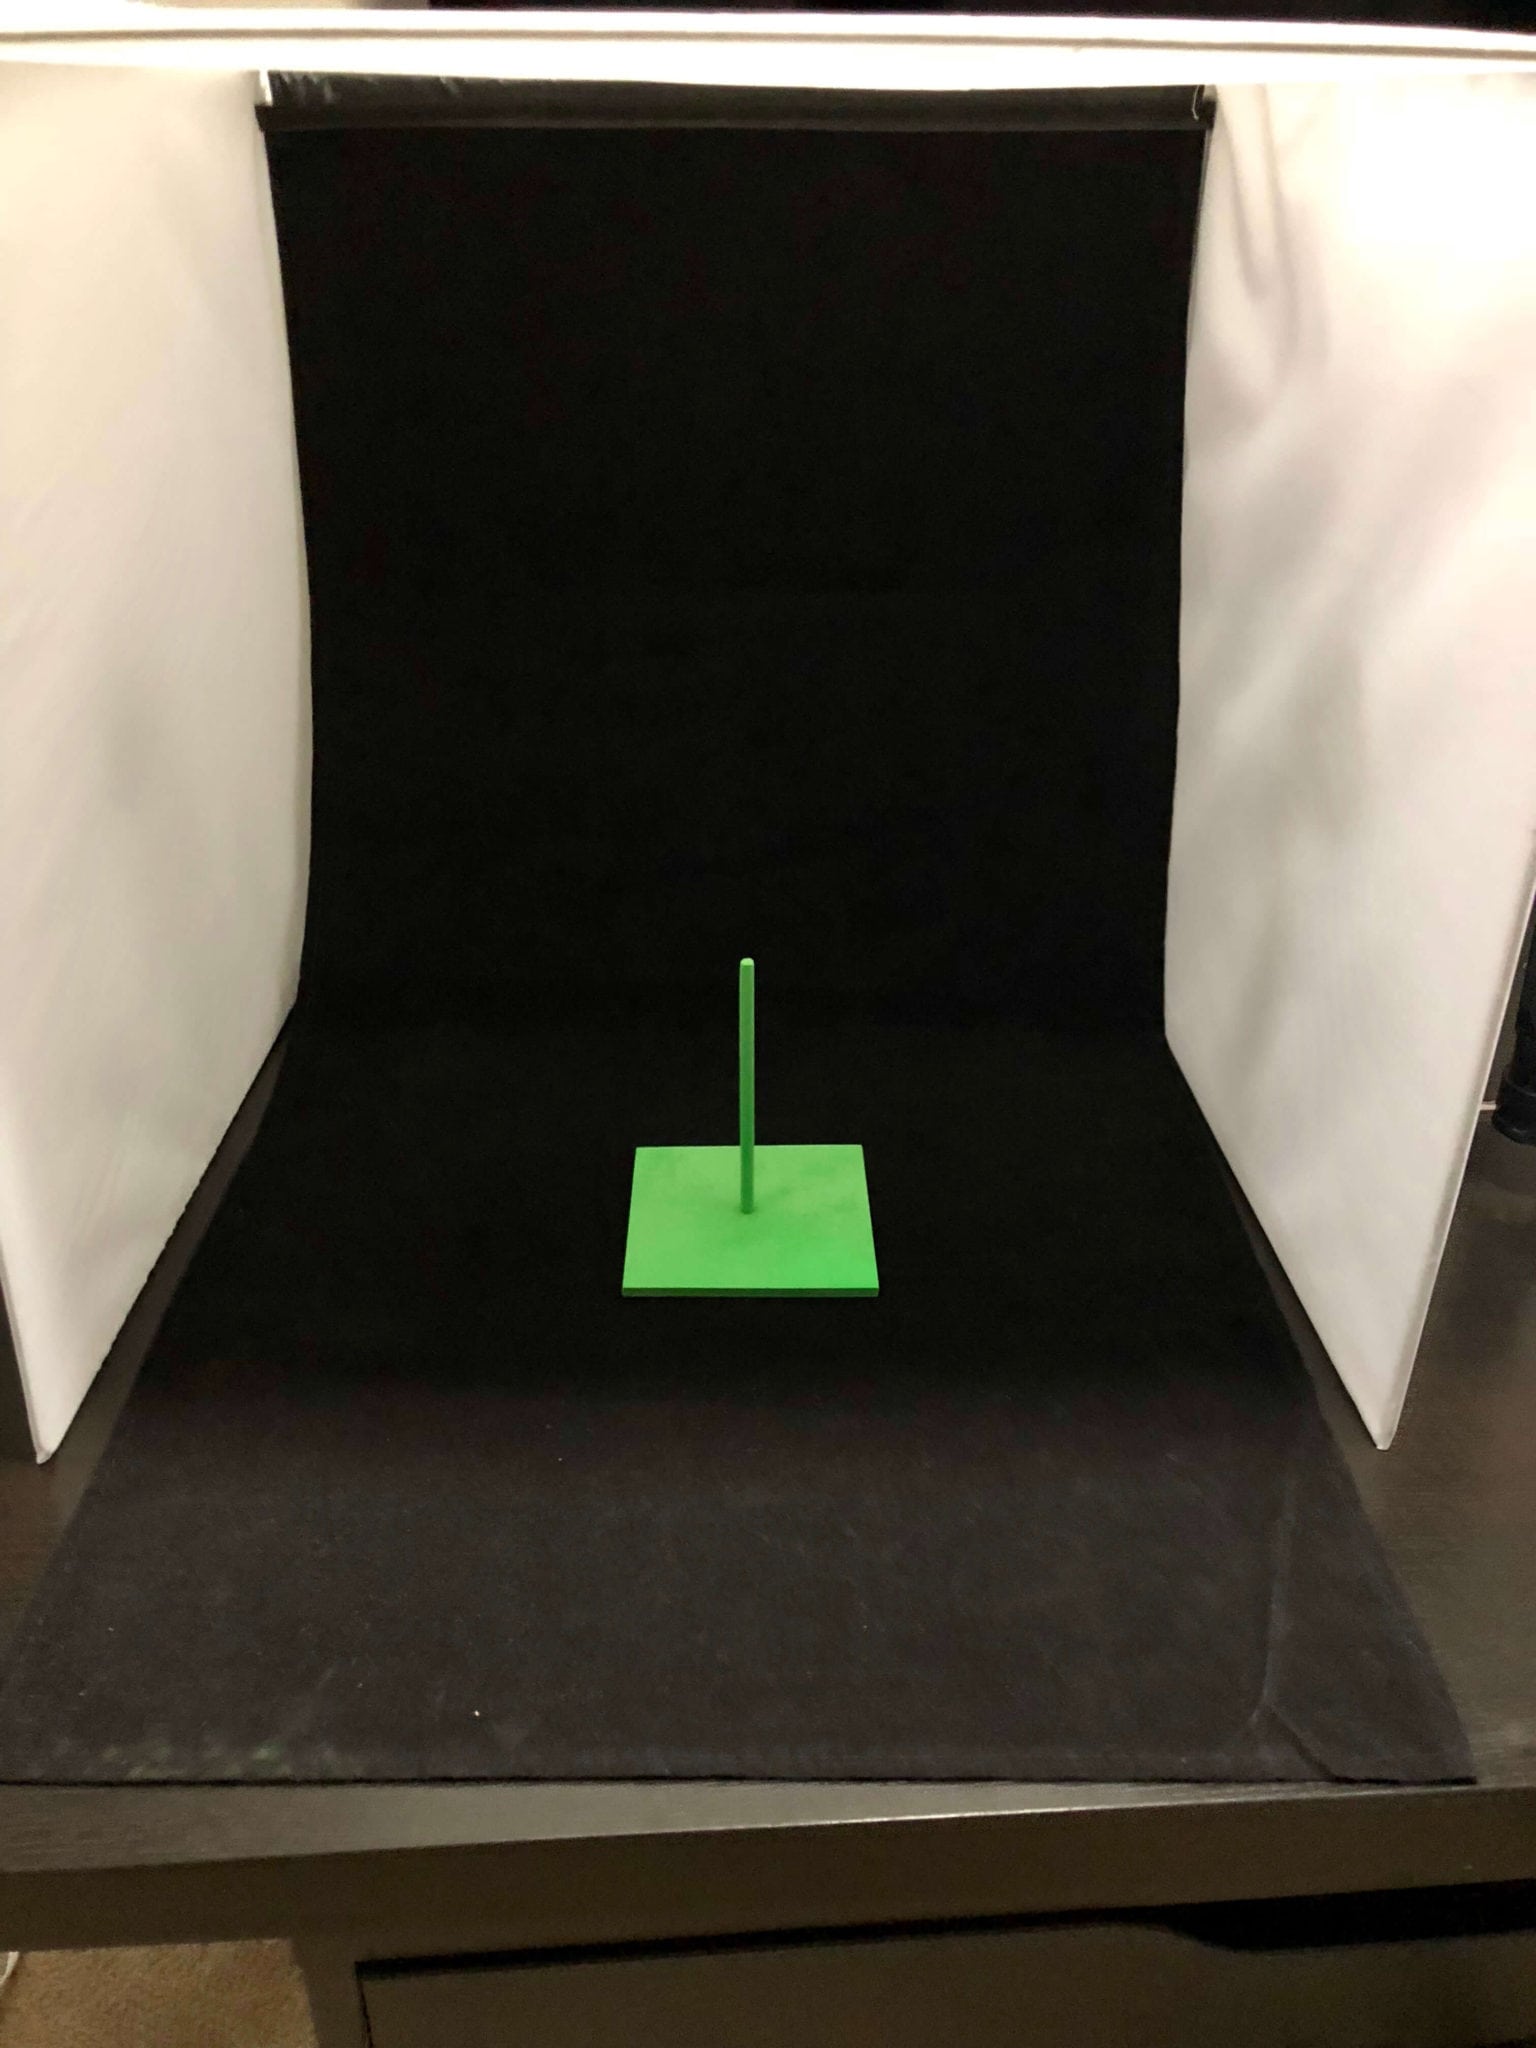
First photograph
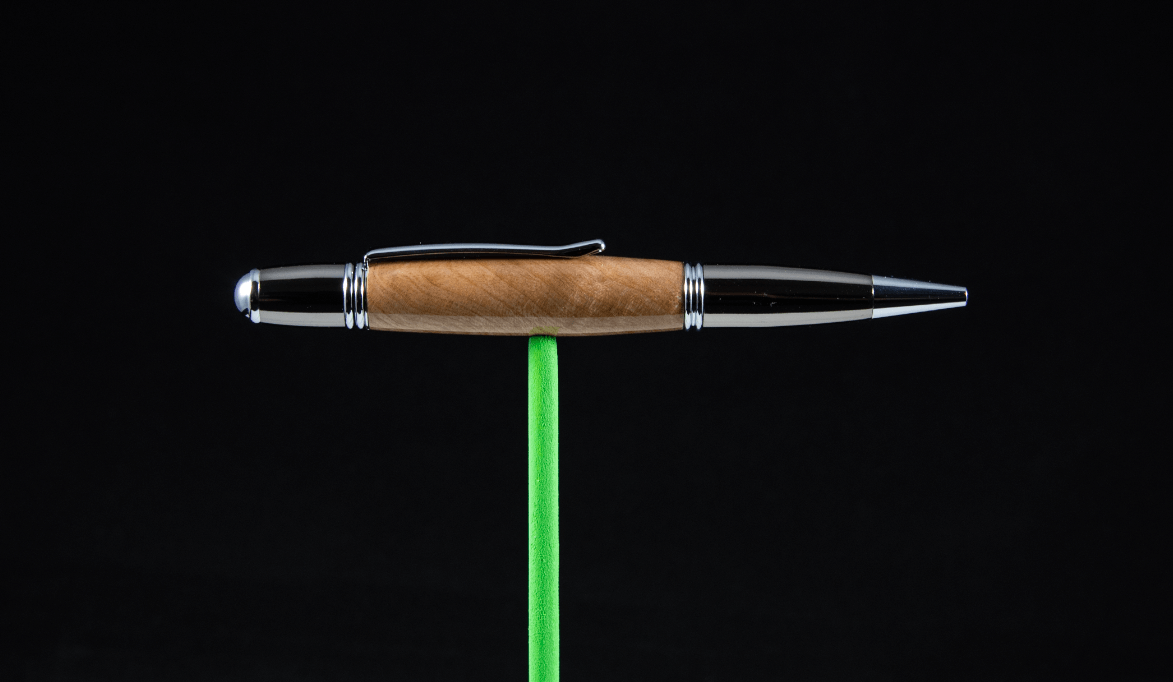
Here’s the unretouched image of the pen on the dowel. Not bad, eh?
The bottom was a bit dark for my taste and I wanted to eliminate as much of the green reflection as I could now so I didn’t have to do it later in Photoshop.
Pro Tip
It’s worth trying to get it right in the camera so you don’t have spend time later in Photoshop.
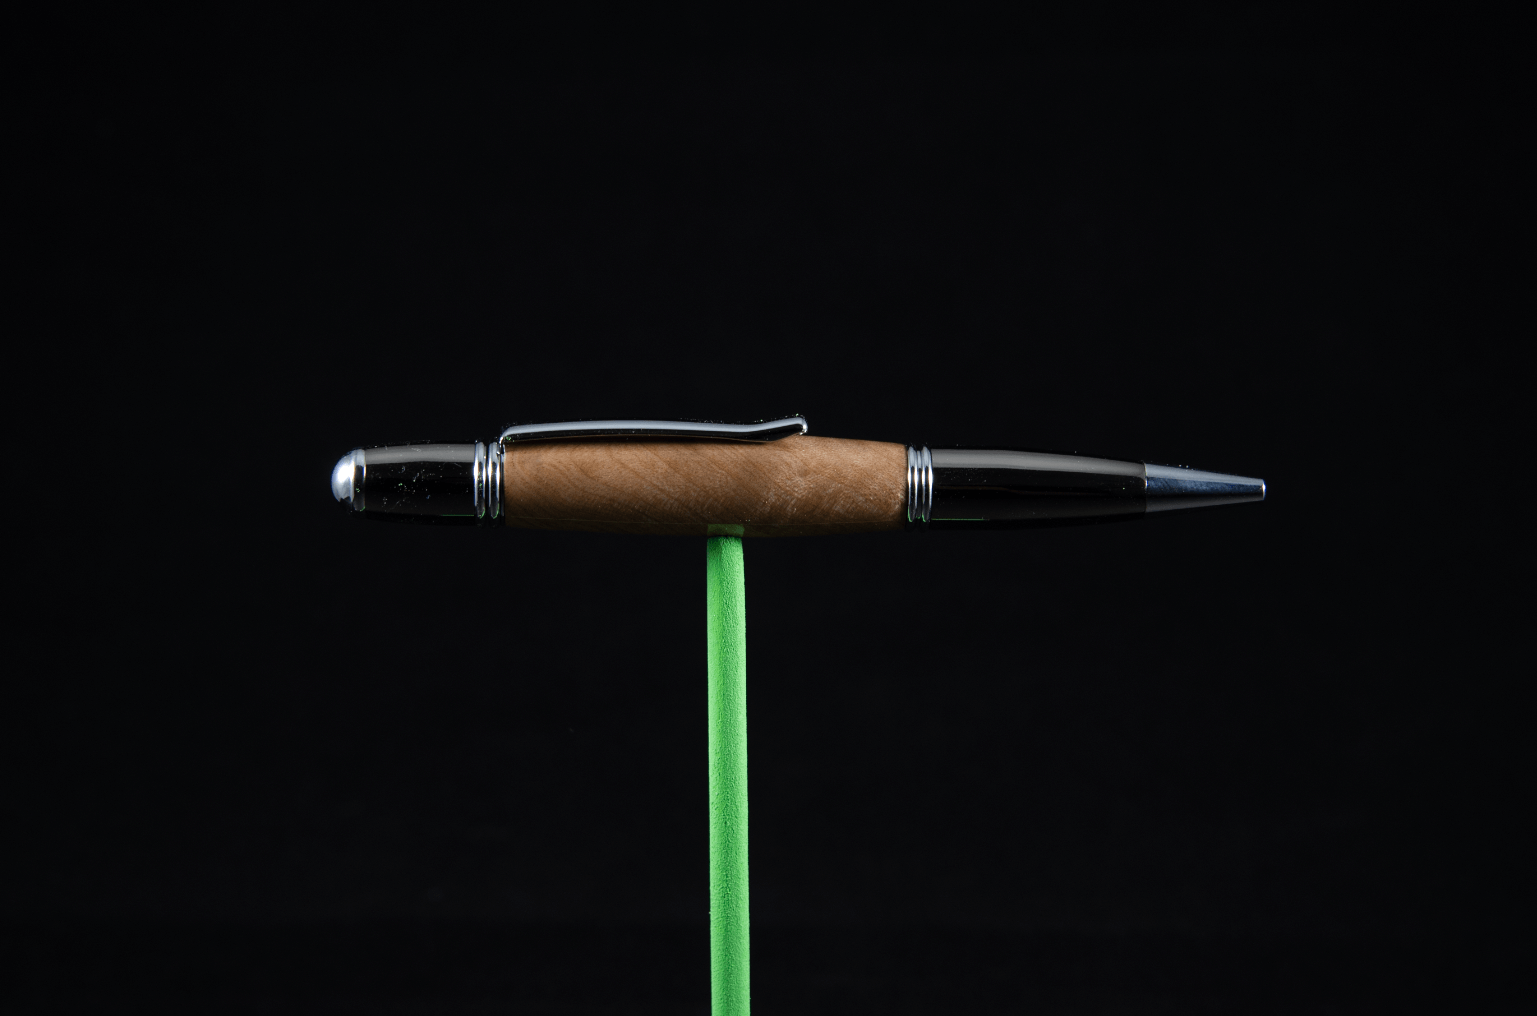
Illuminating under the pen
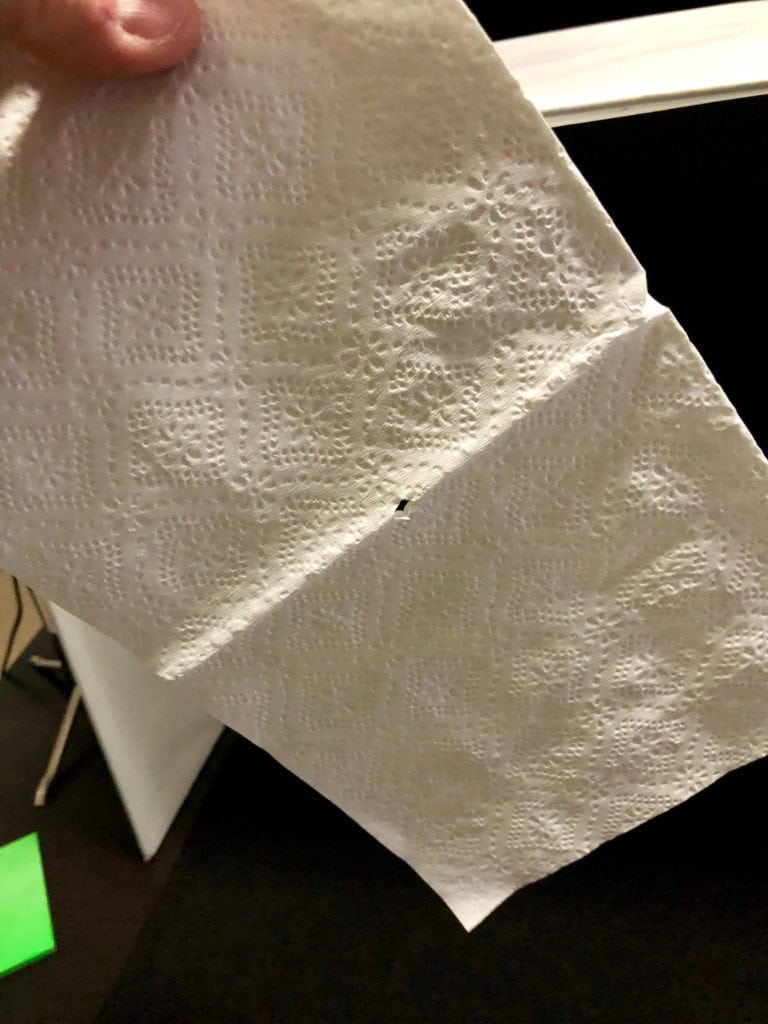
I initially tried laying pieces of posterboard on the green stand and I could see that it was providing a nice reflection of light back up to the bottom of the pen but they weren’t completely covering the base. Finally I got the idea to cut a hole in a napkin and just place the dowel through that.
Yup, that’s a napkin. Pretty sure it’s on the top 10 list of cheapest light modifiers you’ll ever find.
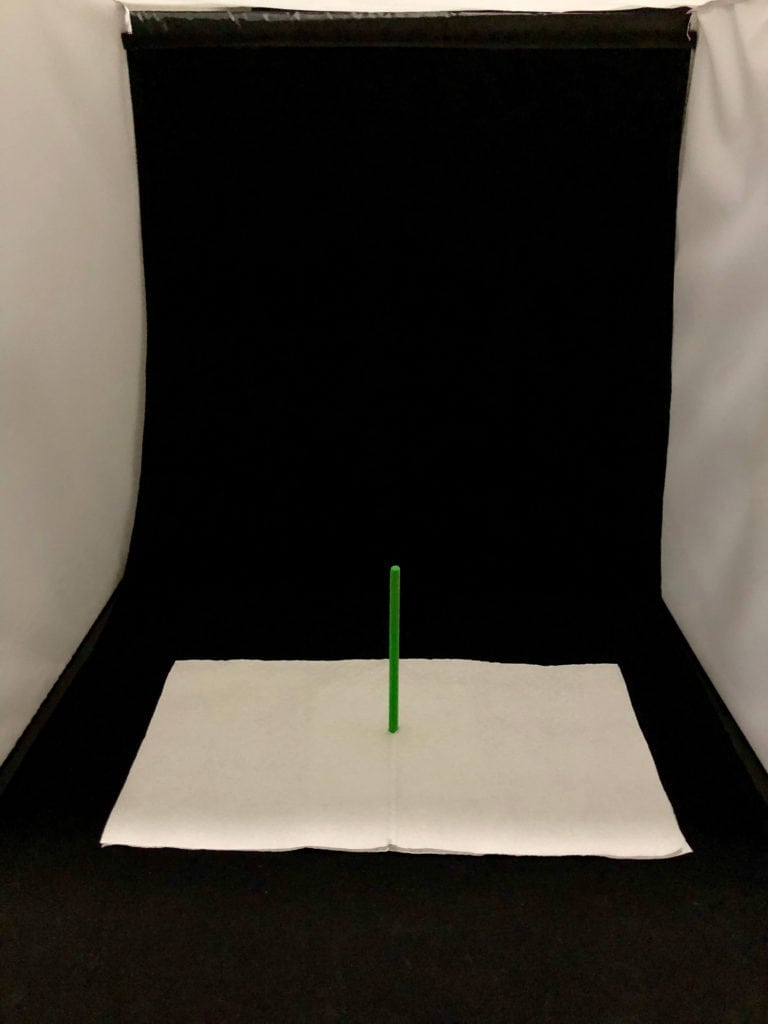
Second photograph
Here’s the pen with the napkin over the base. Isn’t that so much better?
What about a white background?
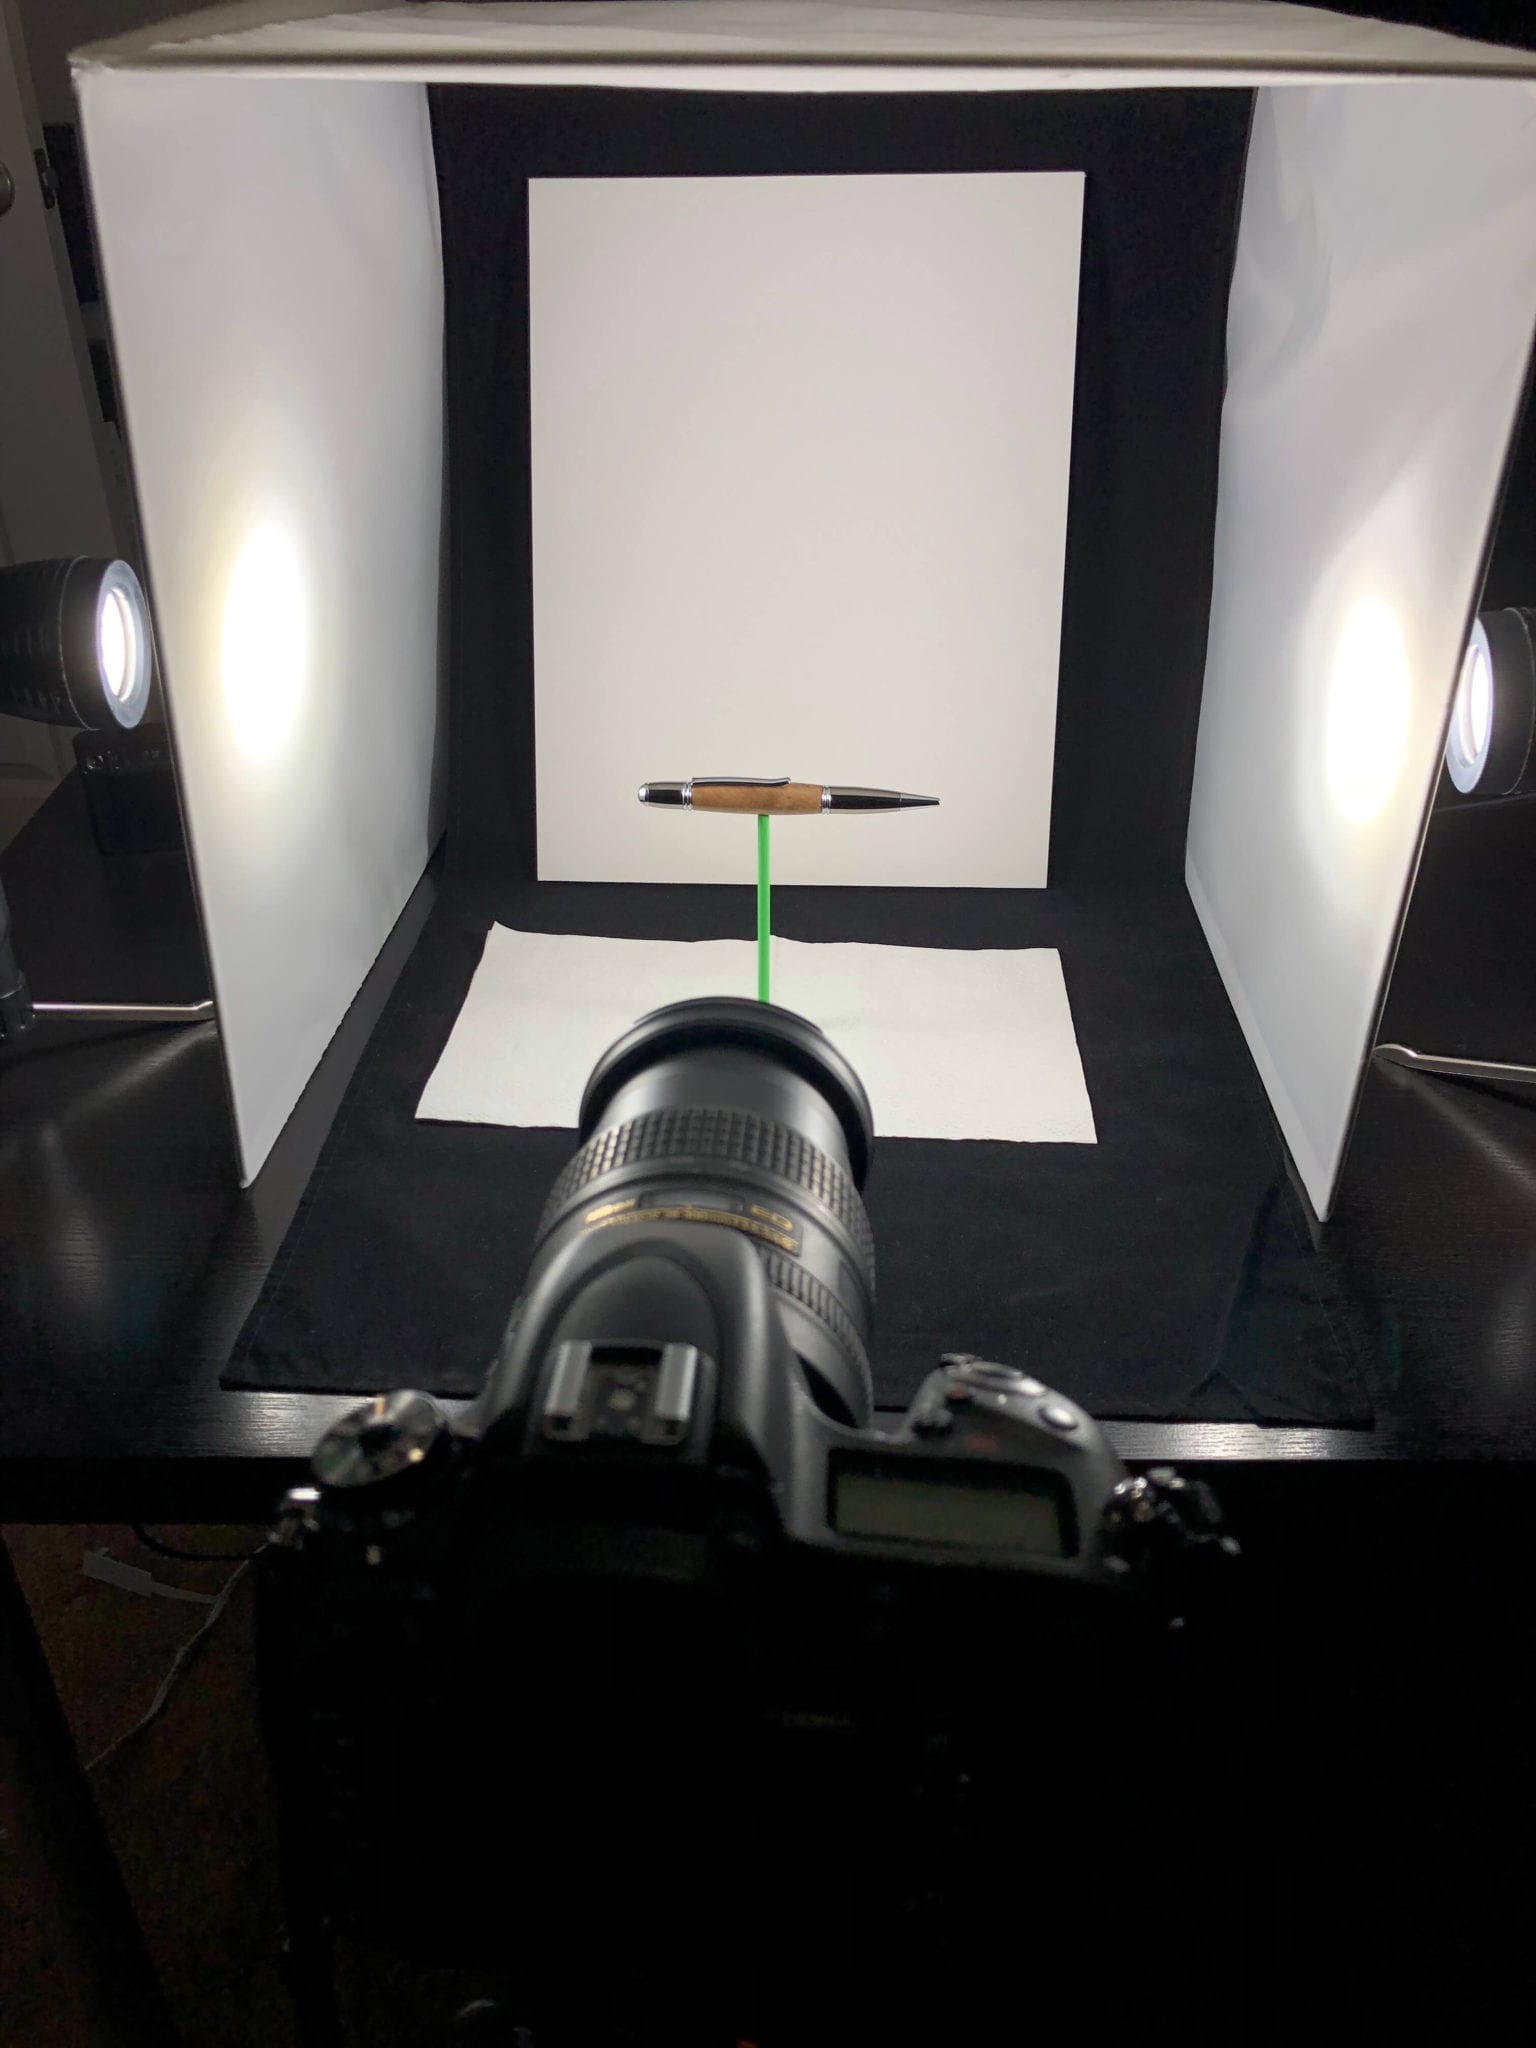
I was pretty thrilled with this result but I wanted to try it on a white background because I’ve found that some pens just look better on a white background so I added a piece of white poster board to the back.
Camera settings
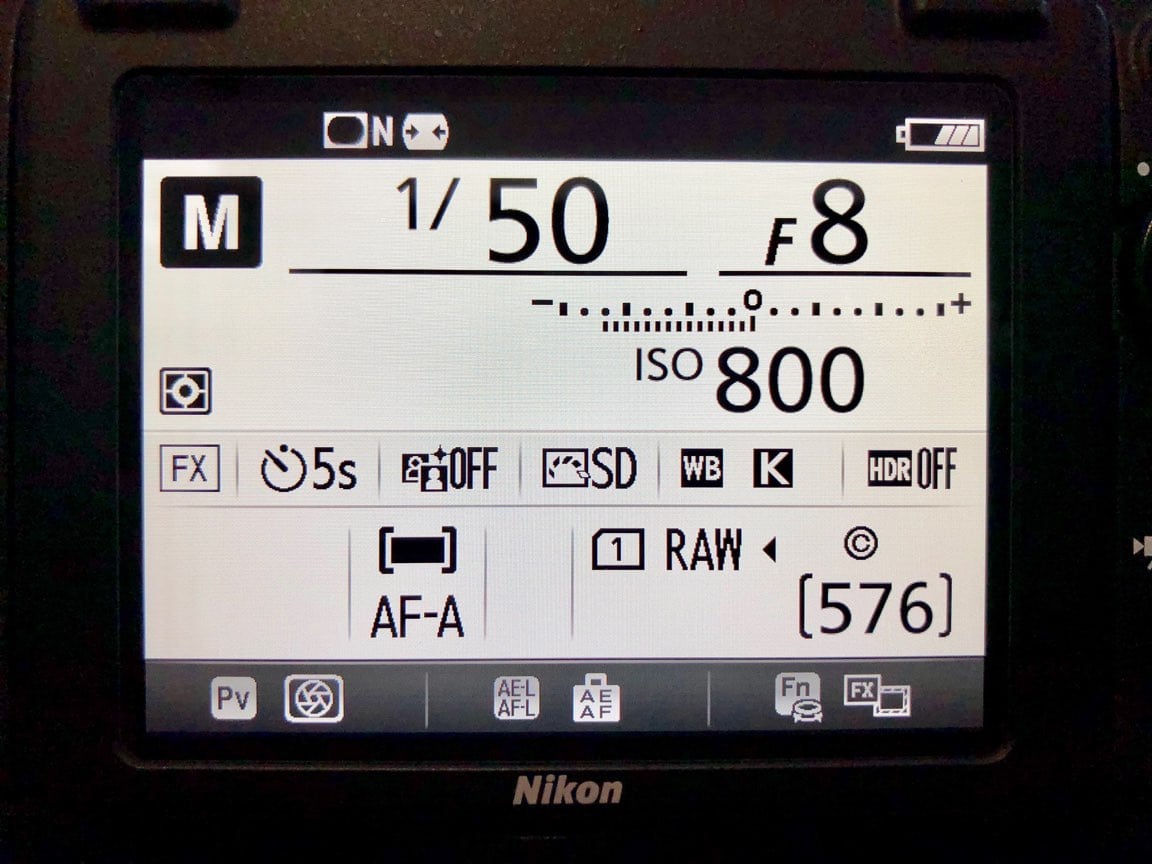
- Manual
- f/8
- 1/50th
- ISO 800
- Timer set to 5 sec.
Lens
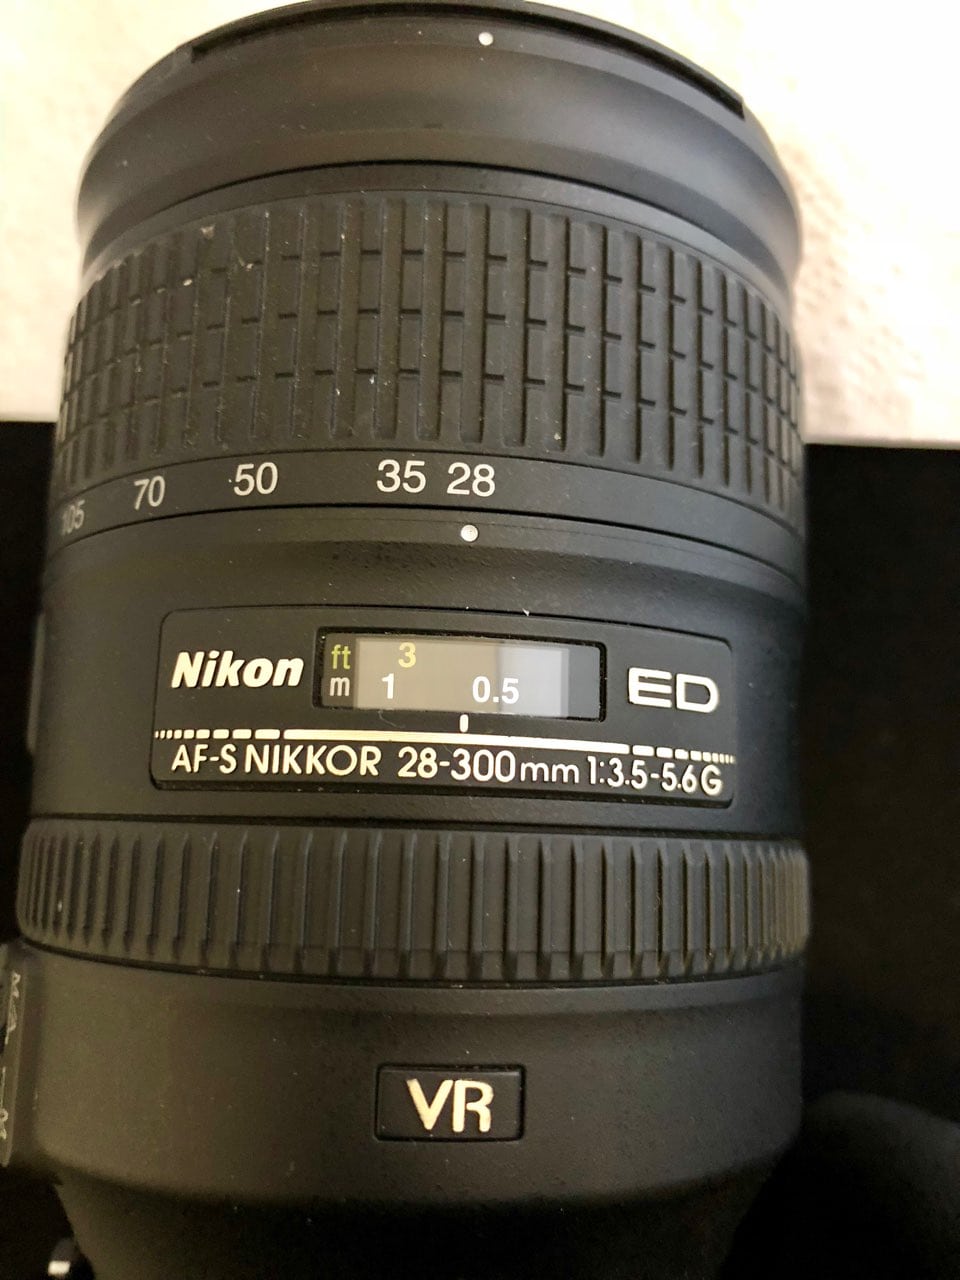
Pro Tip
With this tent being open, it’s a good idea to set the timer and get out from behind the camera so as not to get your own reflection in the pen. That’ll be less you have to Photoshop out later.
Final result

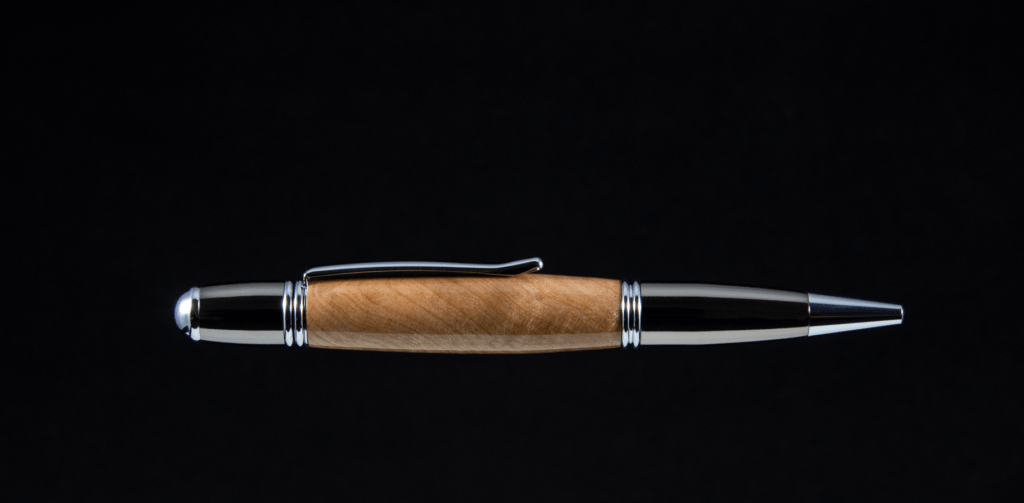


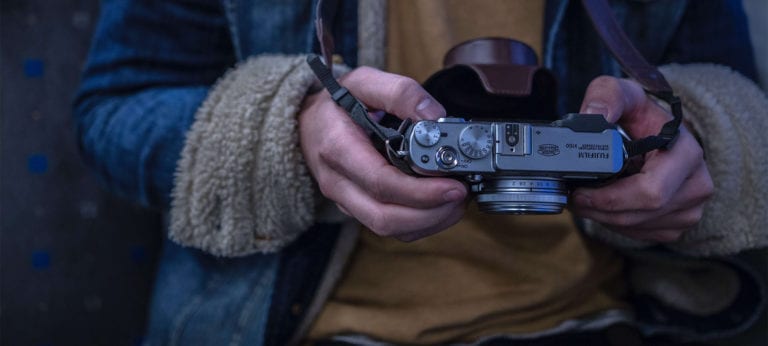
I own the same camera. I am interested in what lens you use and what settings. Thanks.
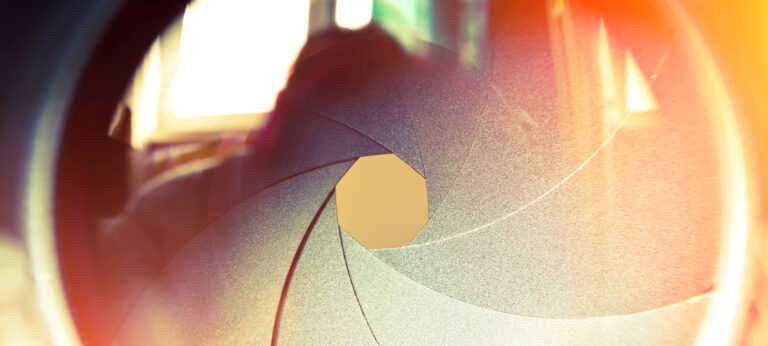
Thanks for reading, Rob. I added a few more images showing the camera settings and lens just above the Final Result section.
Great job! Thorough write up.
Something to work on, thank for for sharing.
Thank you so much for sharing this. A good quality photo helps sell the pen. I would like to get further into this so please include me on your blog.
Thanks, Curt! I’m glad you found this to be useful. I just published another post. Be sure to subscribe so you can stay in the loop.